


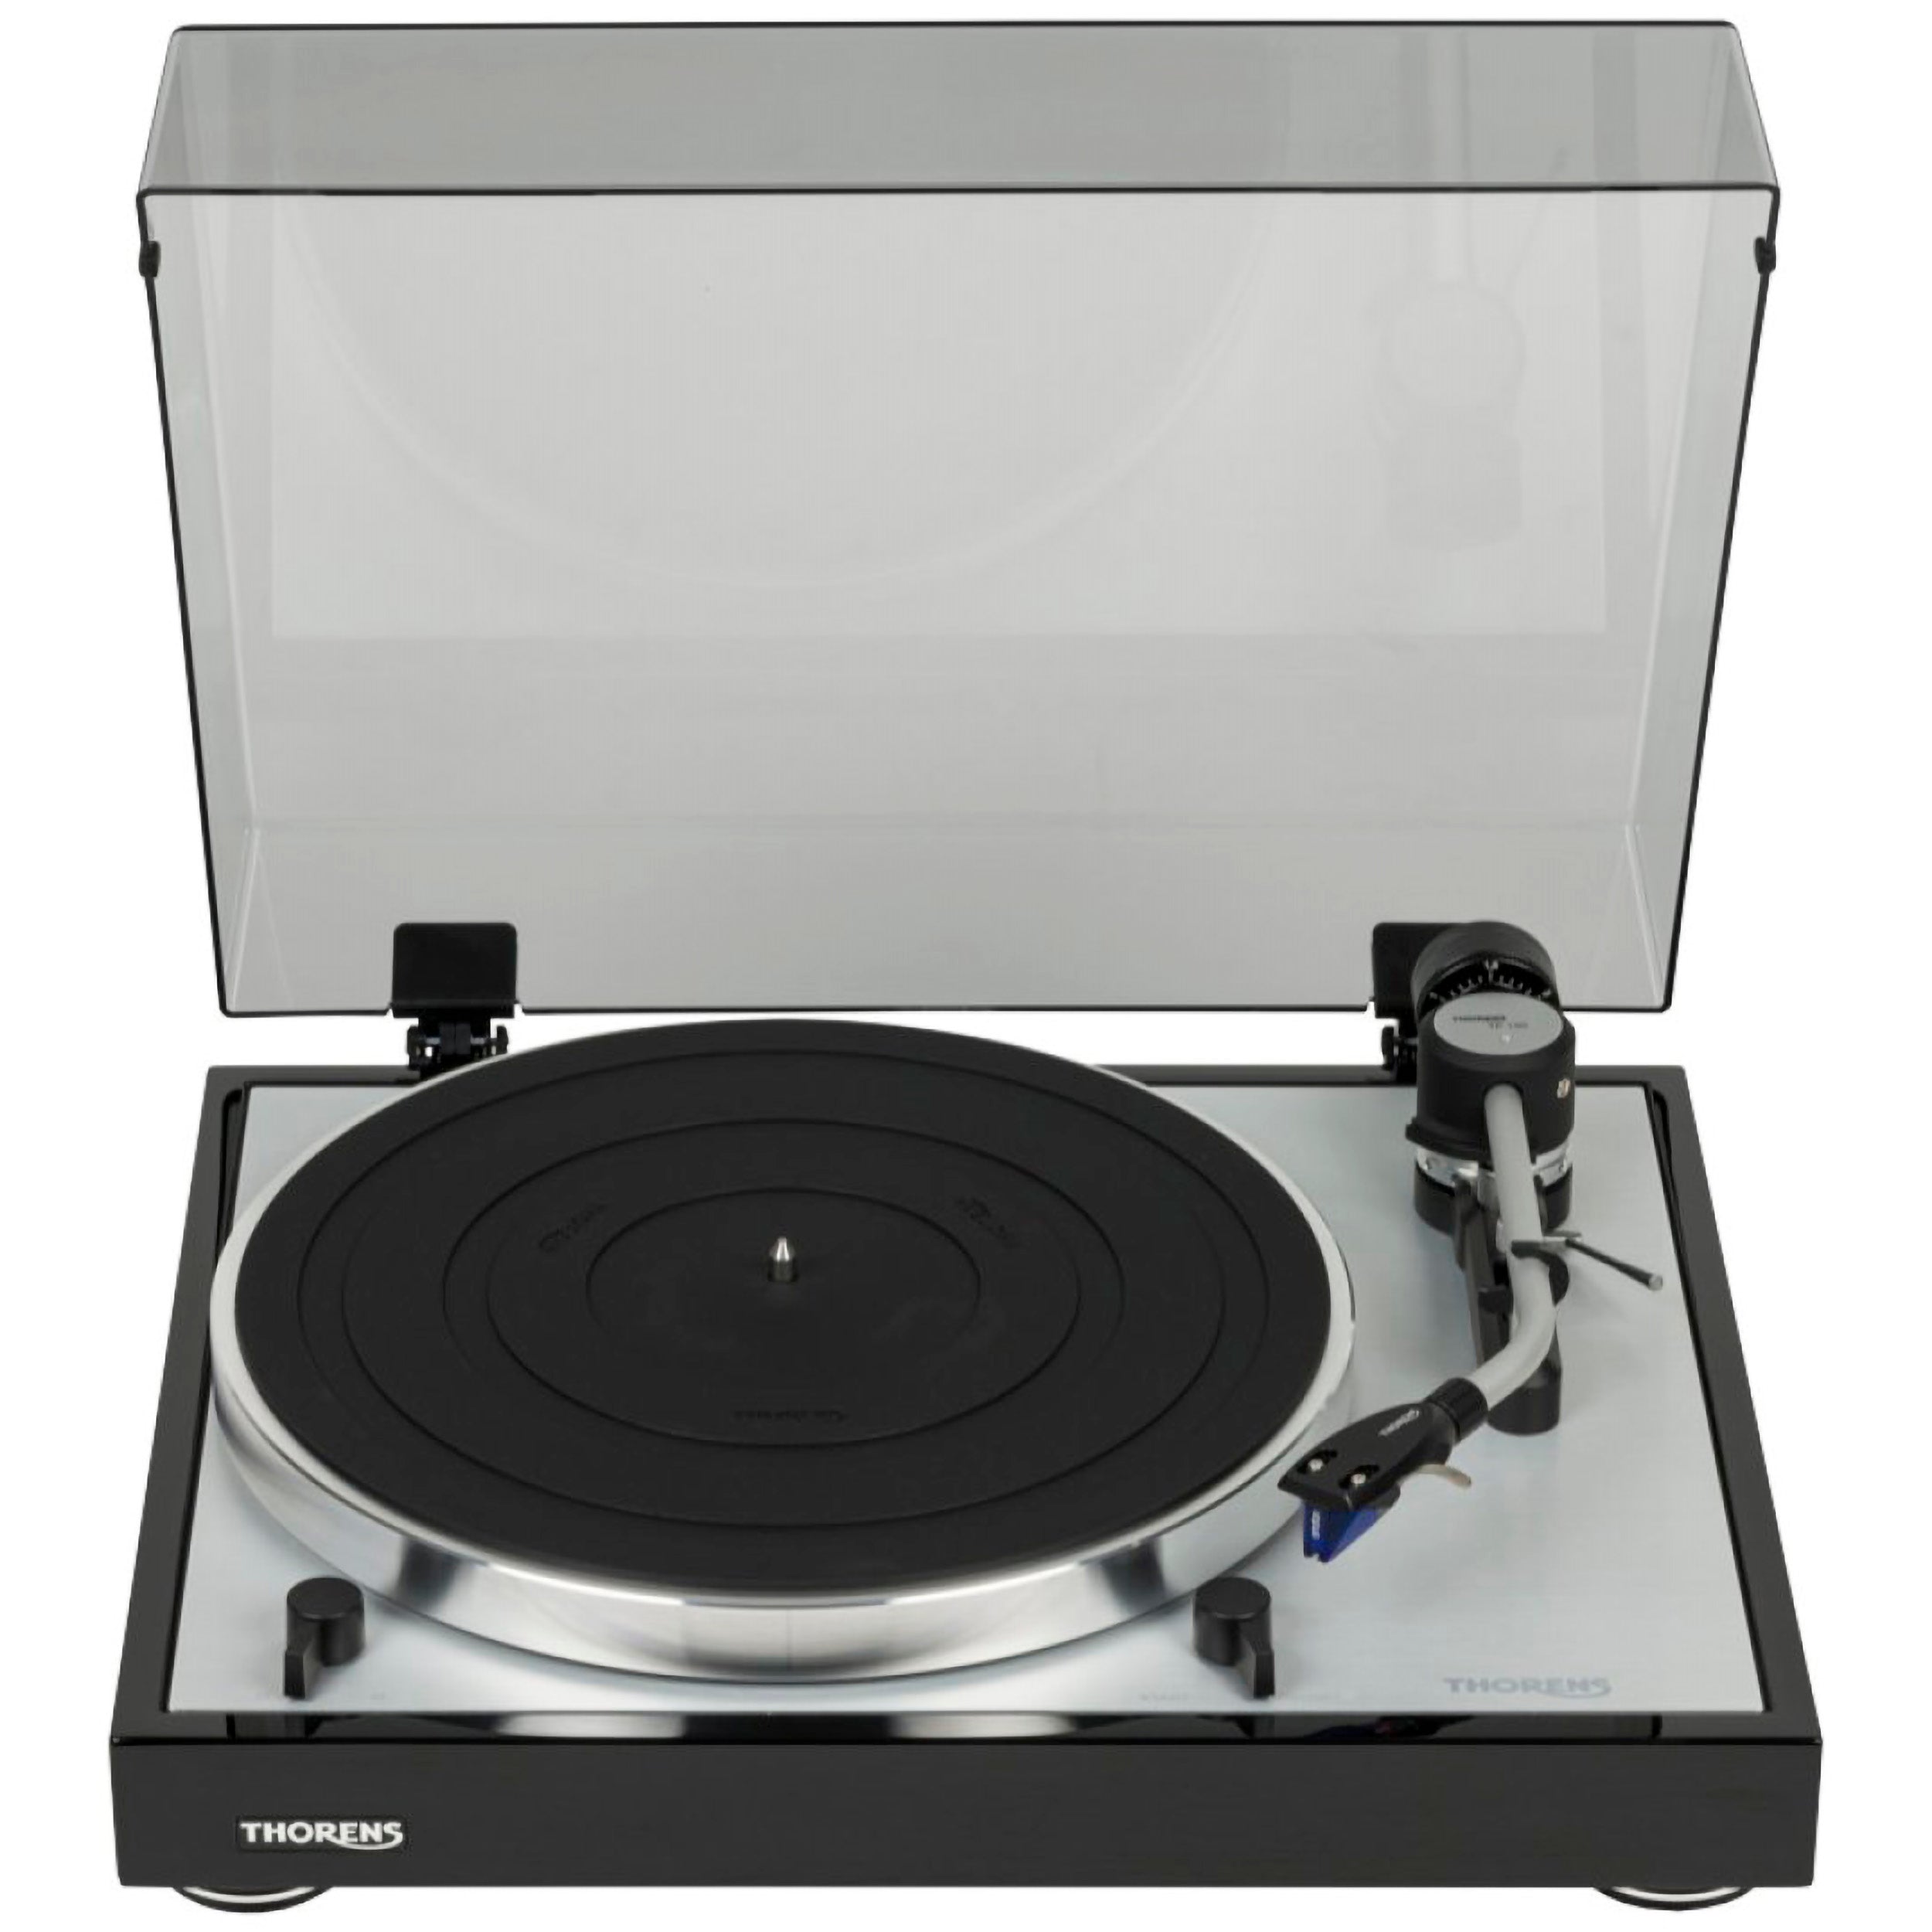
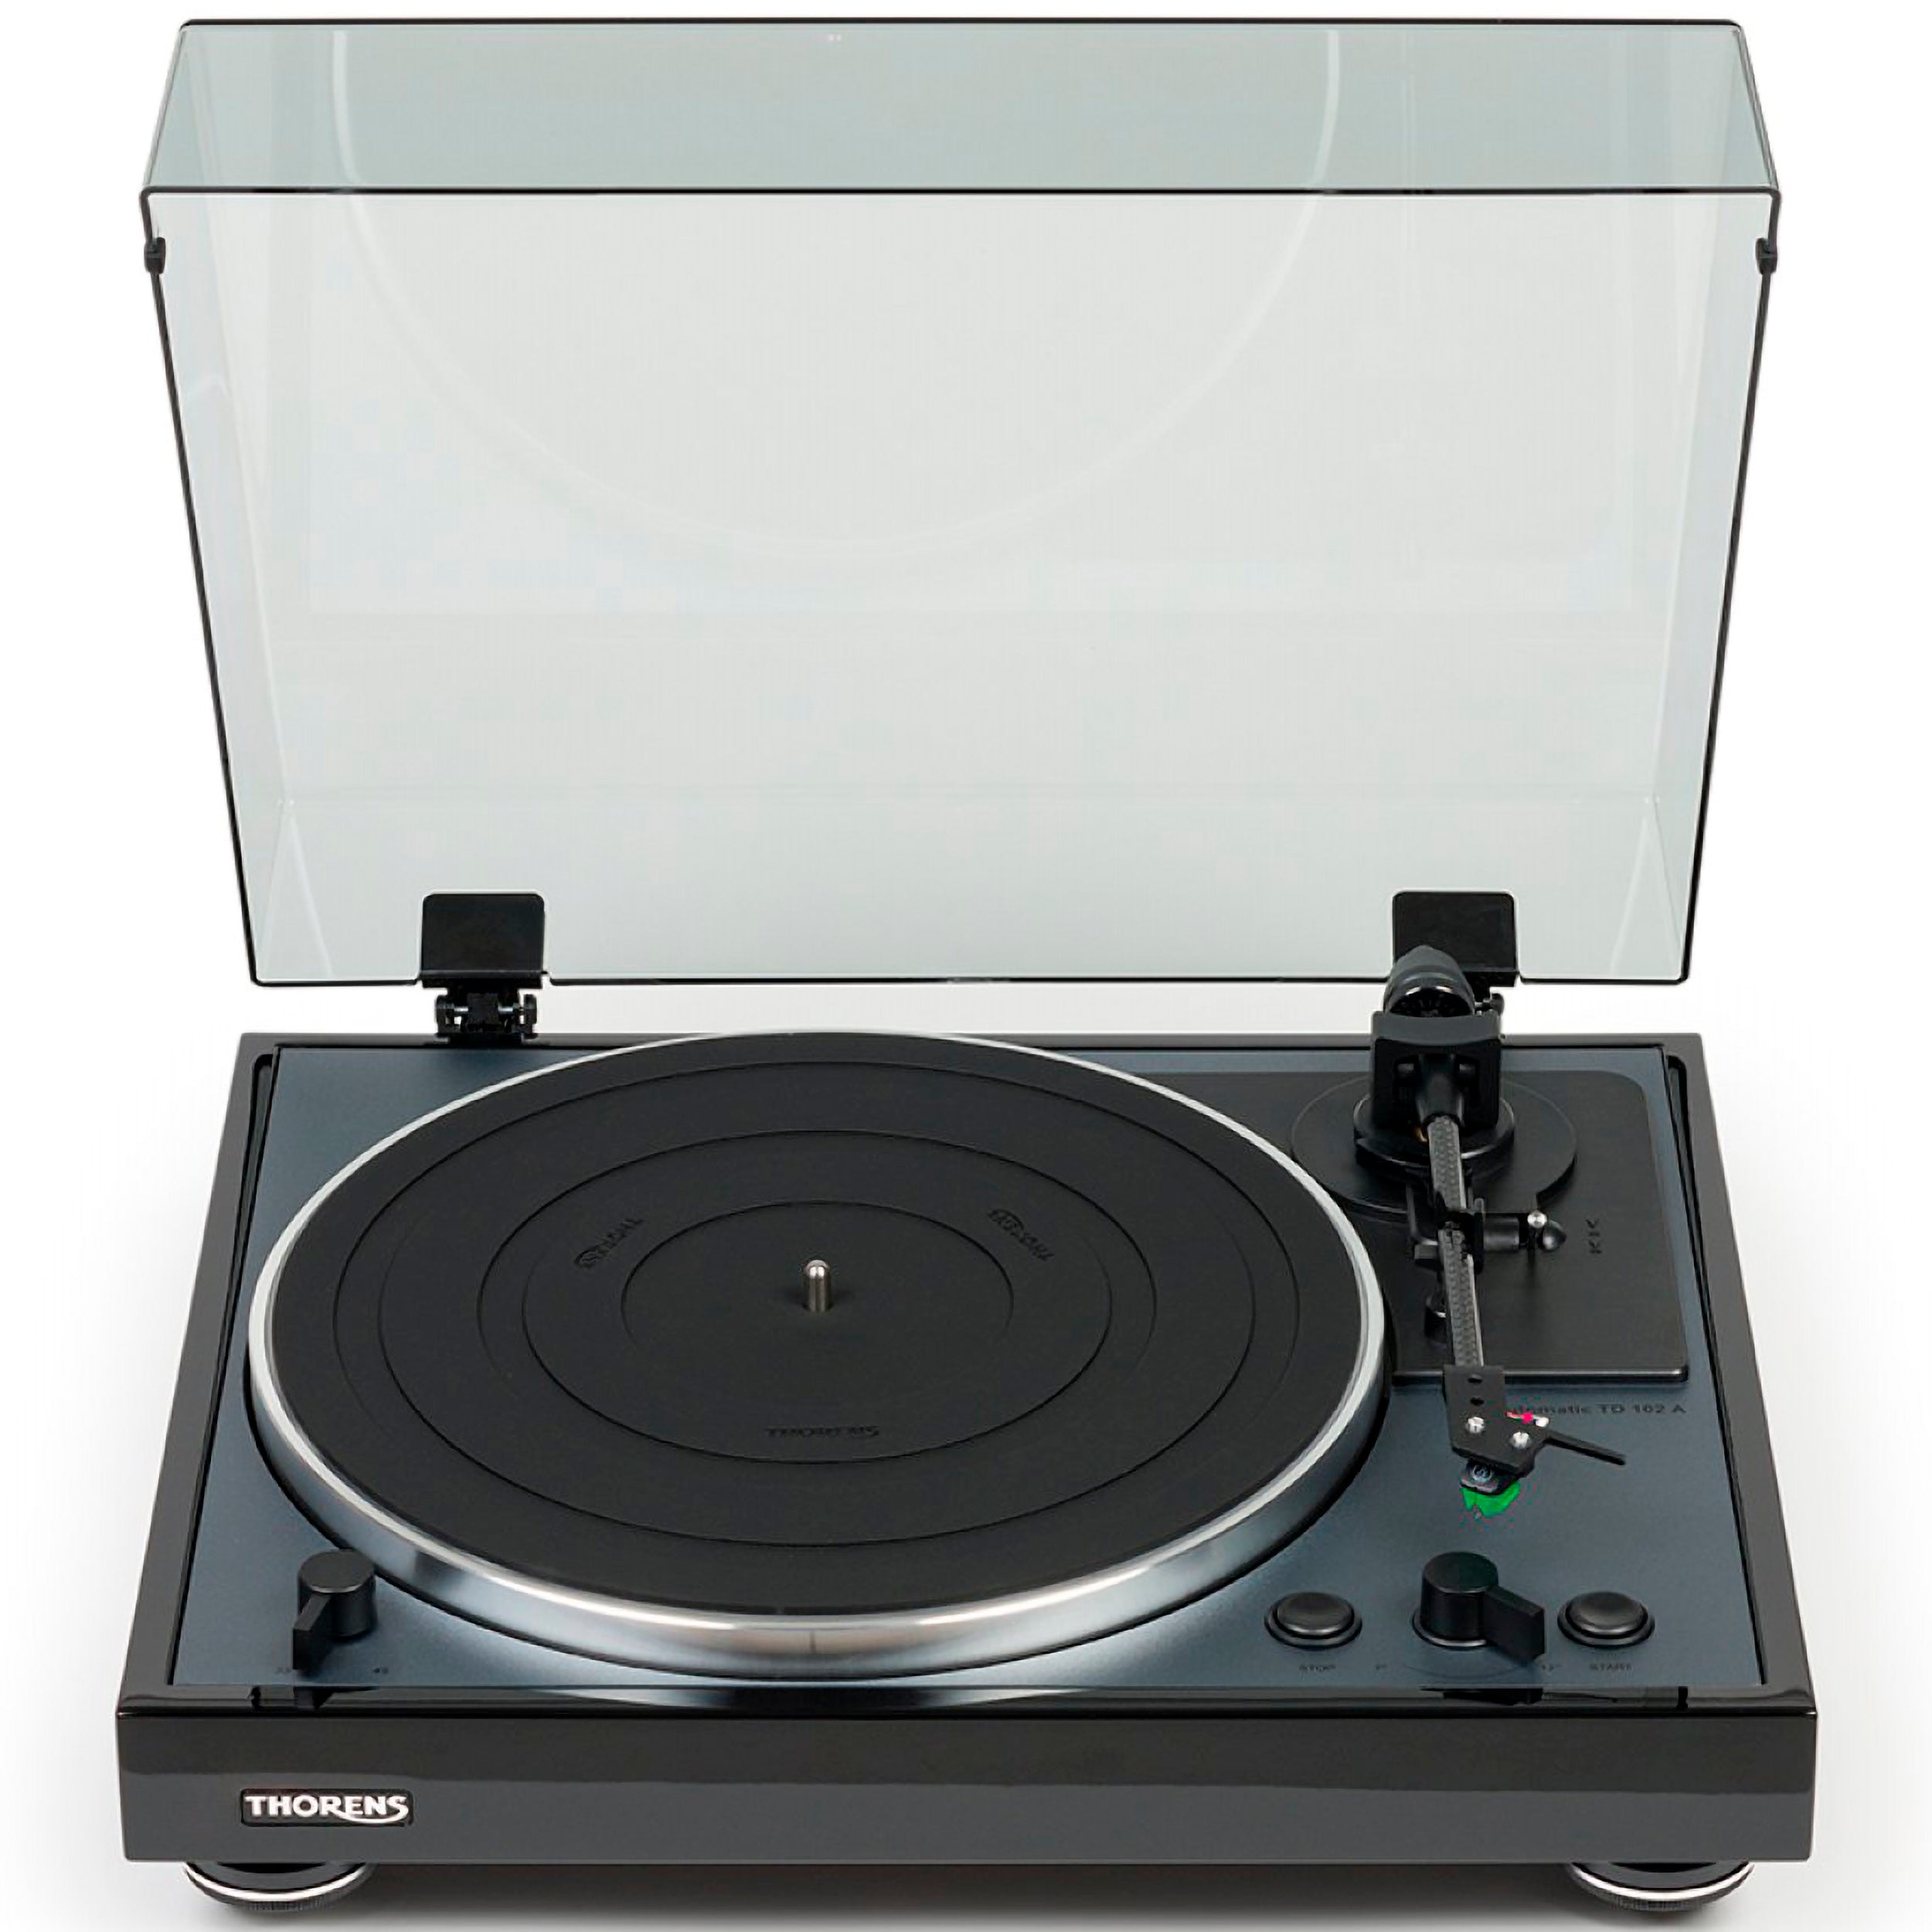
Guide: How to set up your turntable

At a time when vinyl is experiencing a resurgence, it is important to understand how to get that magical sound out of your records. You do that by having a turntable that is set up and adjusted correctly, and you can read all about how to do that in this guide. After following our steps, you will find that you have set up your turntable to deliver an exceptional music experience. It takes a bit of patience and precision, but when everything is adjusted correctly, you will experience your favorite music with a clarity and depth you never thought possible. So take the time to adjust and fine-tune, and then immerse yourself in the rich tones, fullness, and nuances that vinyl records can give you.
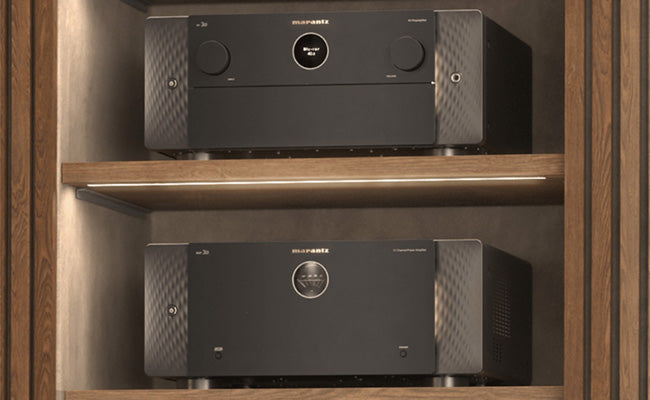
The importance of the turntable's materials and mass
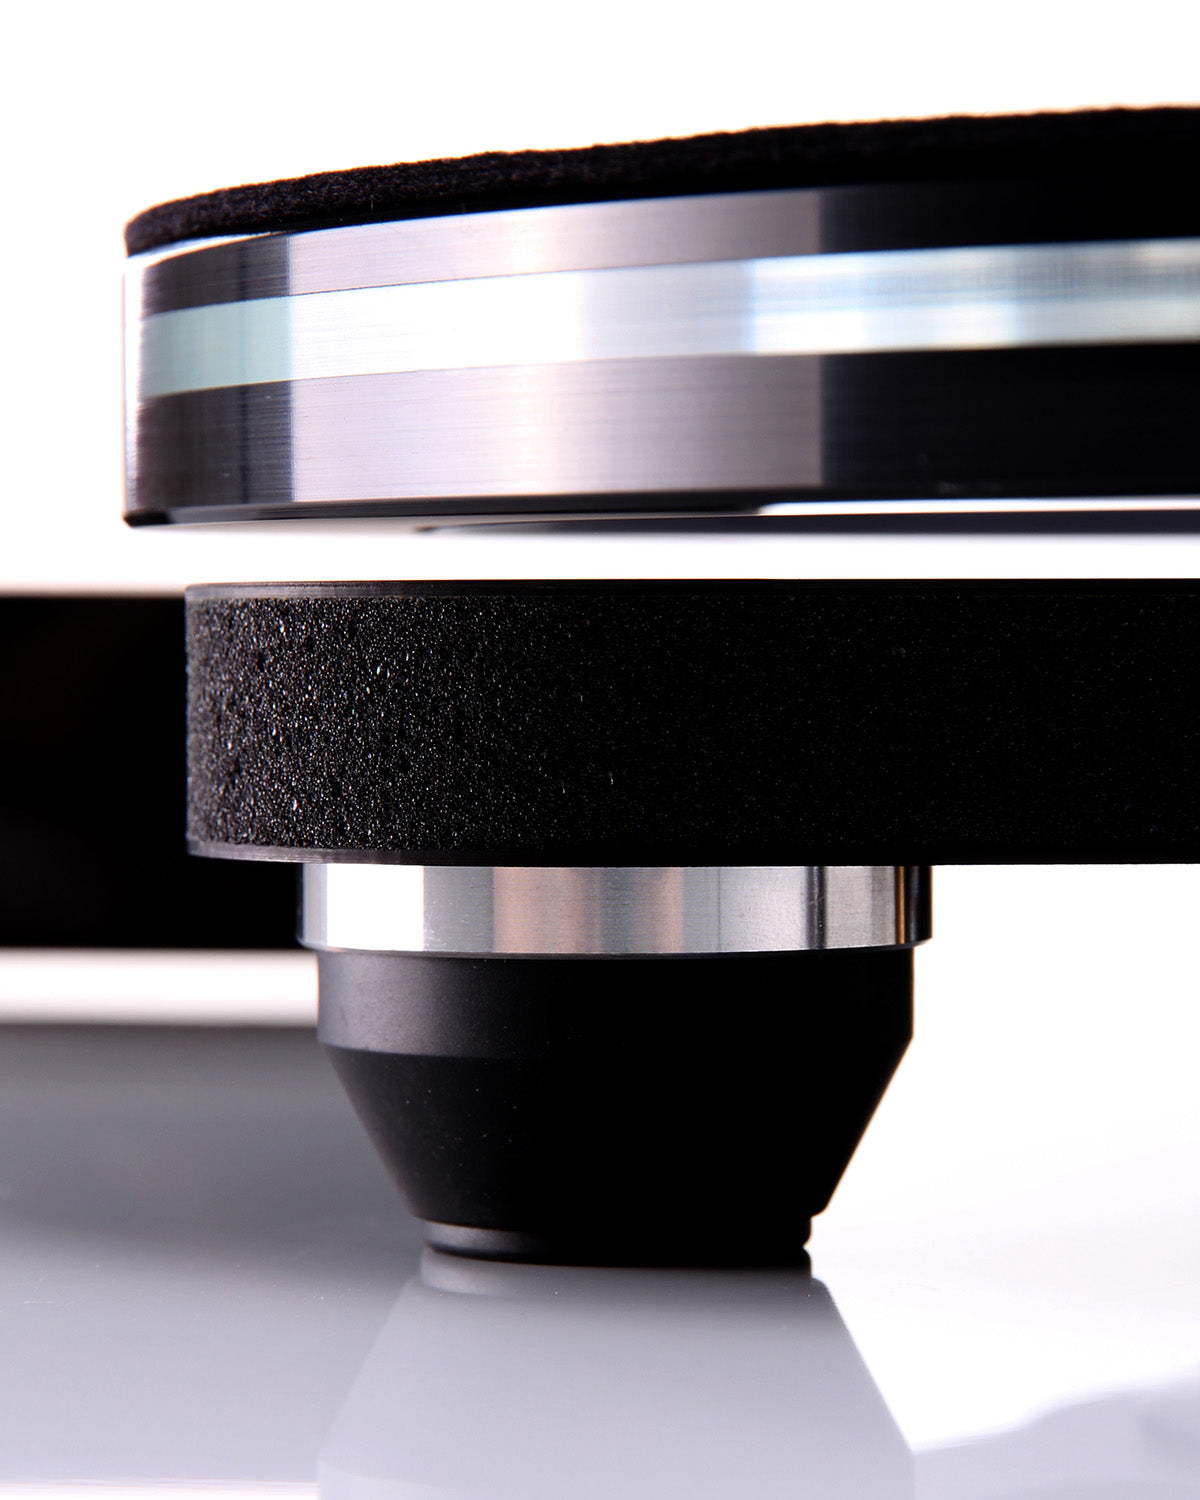
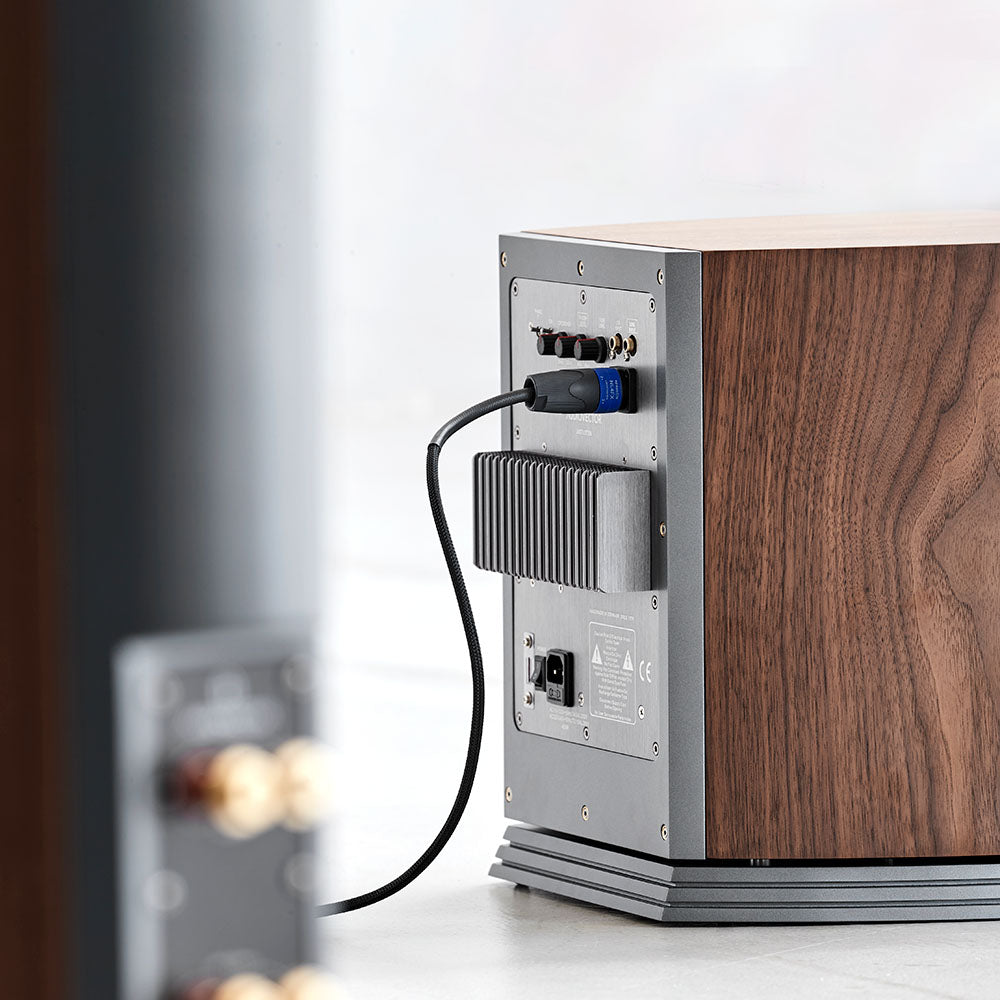
Turntables are incredibly susceptible to vibrations and resonances, which pose a major threat to sound quality. Turntables are sensitive devices that convert the microscopic variations in a record’s grooves into sound. Any form of vibration can therefore disrupt this precise process, which is why it is important to understand how to minimize them.
Vibrations can come from various sources such as floors, speakers, surrounding furniture, or even the turntable’s motor itself. When these vibrations are transferred to the turntable, they can result in distorted and degraded sound reproduction. To minimize vibrations and resonances, you should therefore consider where you place the turntable.
We recommend placing the turntable on a vibration-damping surface and away from speakers and other sources that create vibrations. For serious enthusiasts, it may be a good idea to invest in a dedicated turntable shelf that effectively isolates the turntable from its surroundings.
READ ALSO: Get started with your turntable
Minimize resonance and vibrations in the turntable
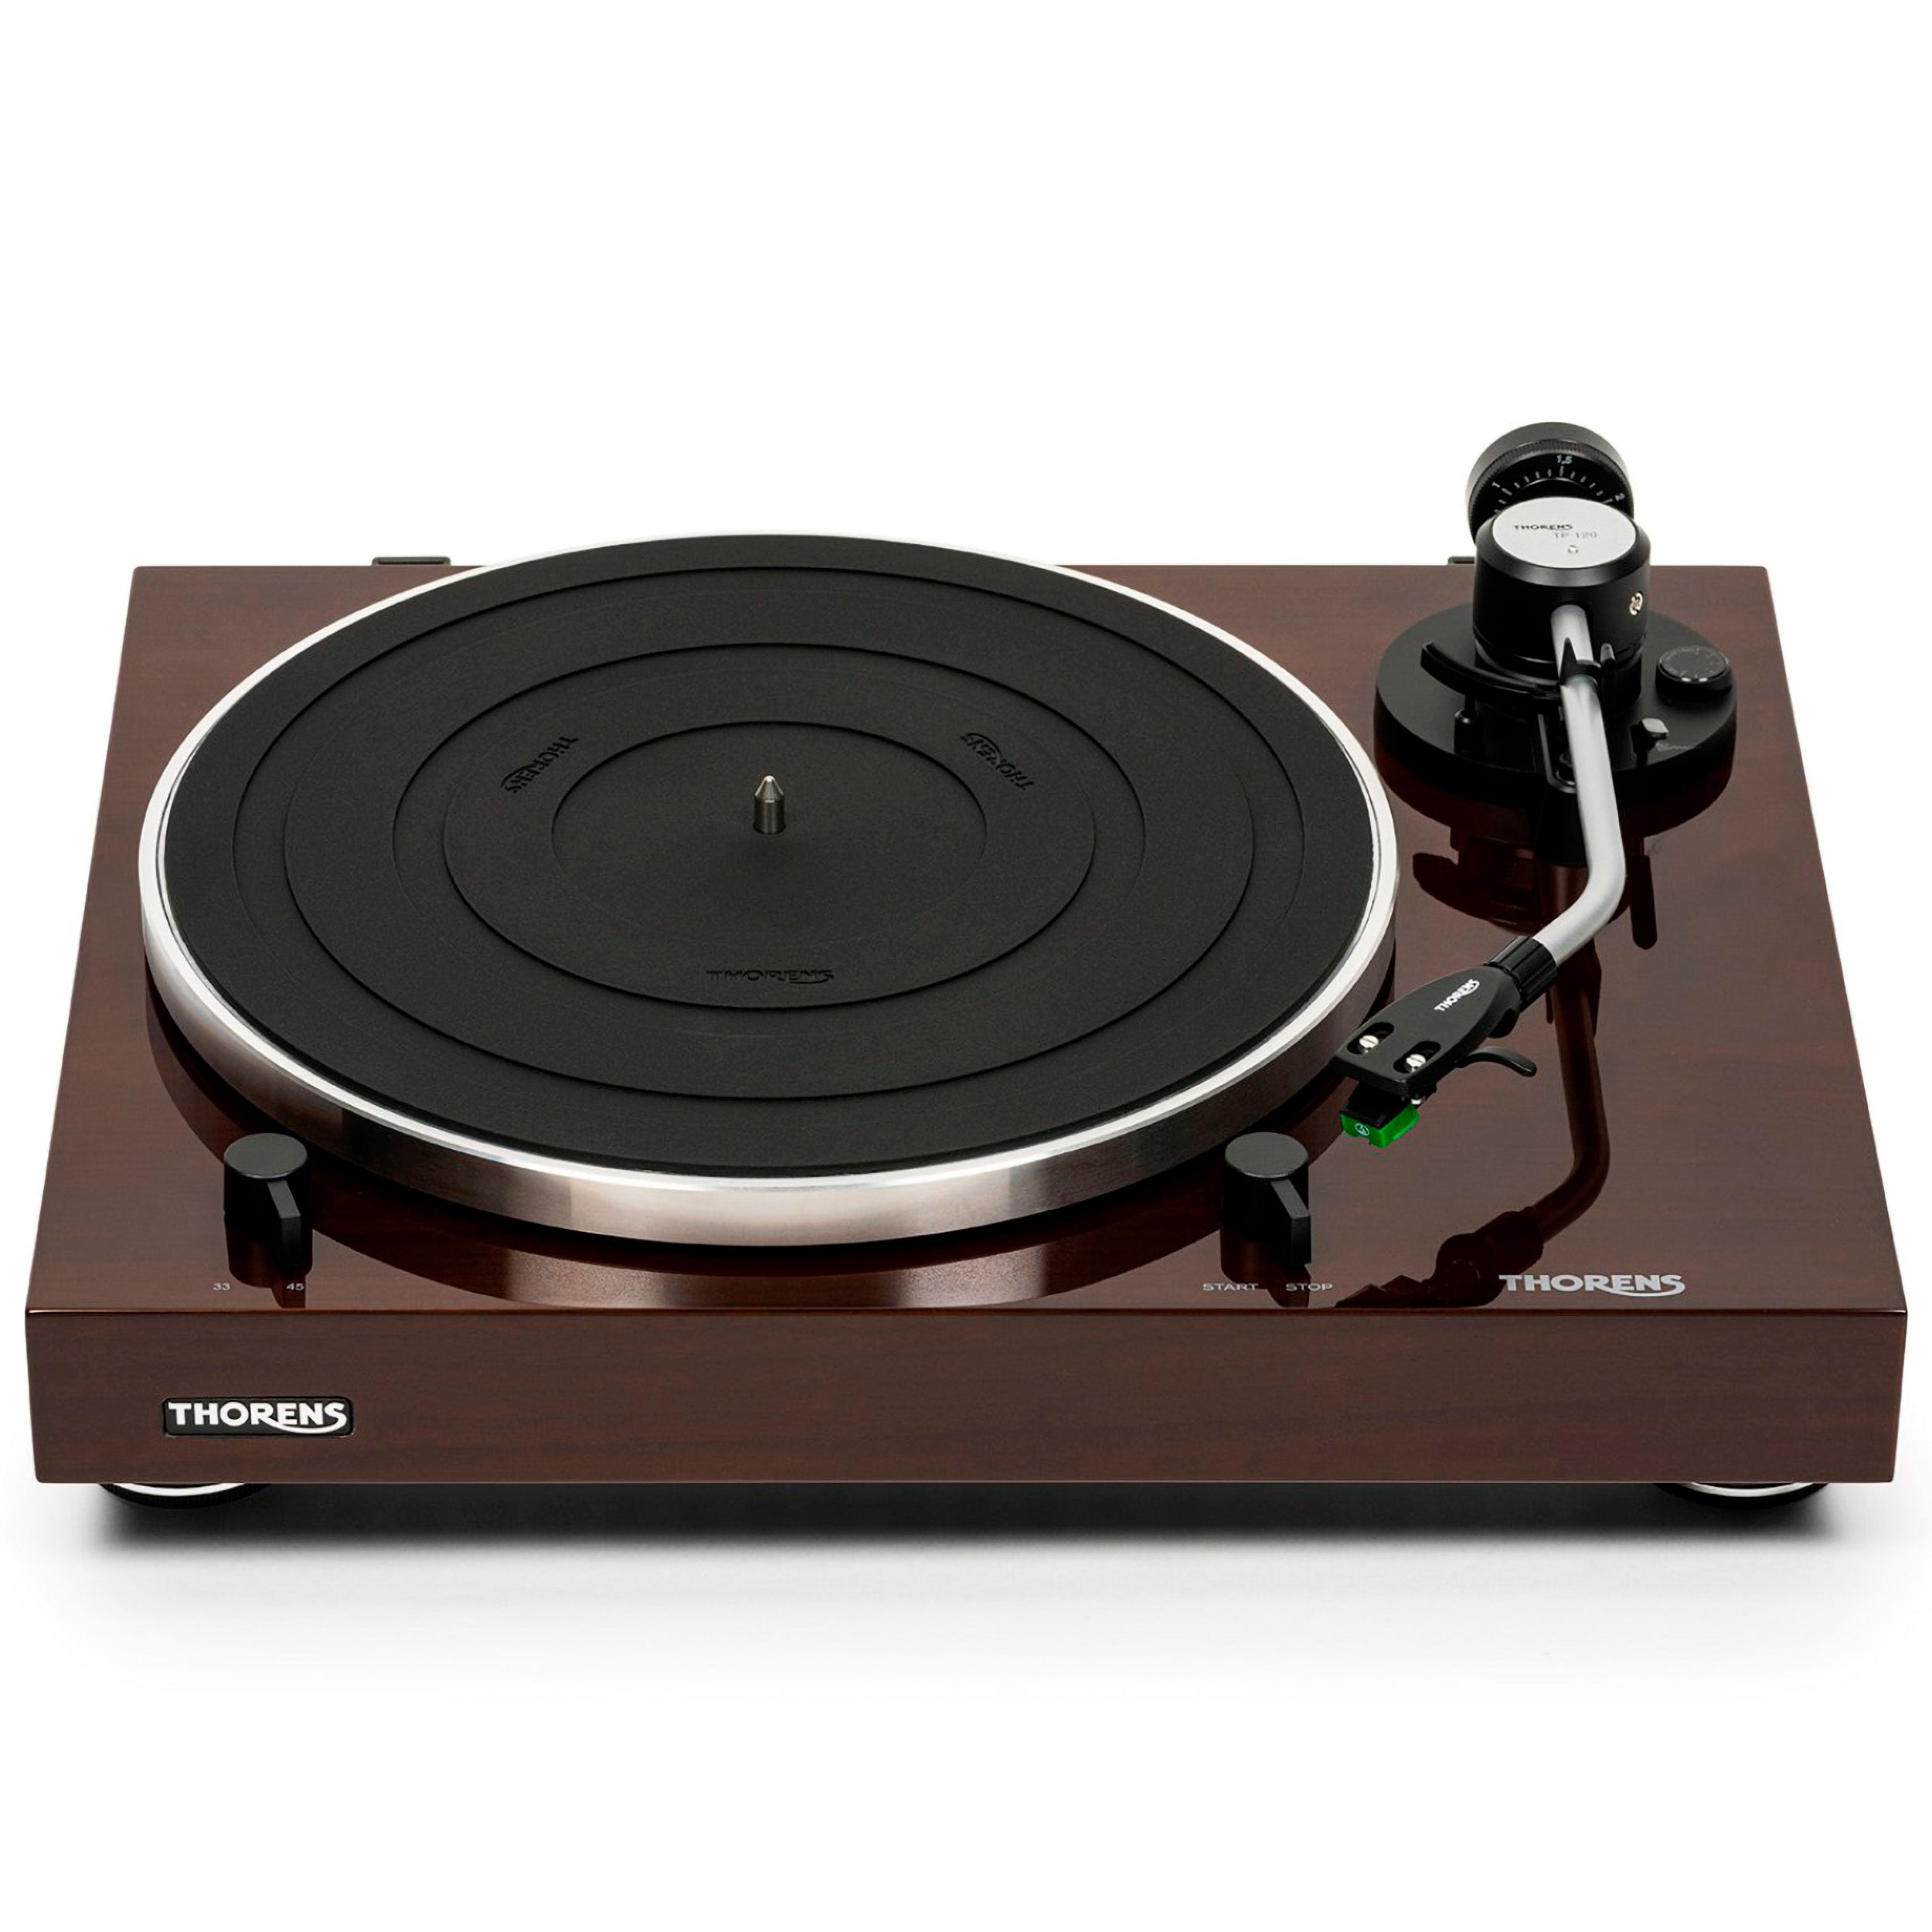
The choice of materials and their mass has a significant influence on vibrations and resonances. Materials such as MDF, metal, acrylic, and carbon fiber each have unique properties that all help control vibrations. For example, MDF is known for counteracting vibrations and creating a stable base, but the materials will often be combined to optimize the turntable’s ability to handle unwanted energy. In expensive turntables, a combination of materials such as acrylic, metal, and carbon fiber is often used to achieve the best possible sound quality.
The turntable’s mass also affects its ability to resist resonances. An appropriate mass can act as a stable base and reduce the risk of resonances that can distort the sound. The many turntable manufacturers have very different philosophies when it comes to how the materials and mass should be combined to achieve the best sound quality.
British Rega is one of those that uses mass particularly thoughtfully. This can be seen, for example, in the design of their turntable platter, where most of the mass is placed on the outer edge to create a strong flywheel effect. At the same time, they have made the inner side of the platter as stiff and light as possible, creating the perfect compromise. Because the platter needs extra mass to maintain a constant rotational speed, but too much weight can quickly create problems for the main bearing.
Although turntable manufacturers differ in their philosophies, they agree that mass and materials have a great impact on the turntable’s sound quality.
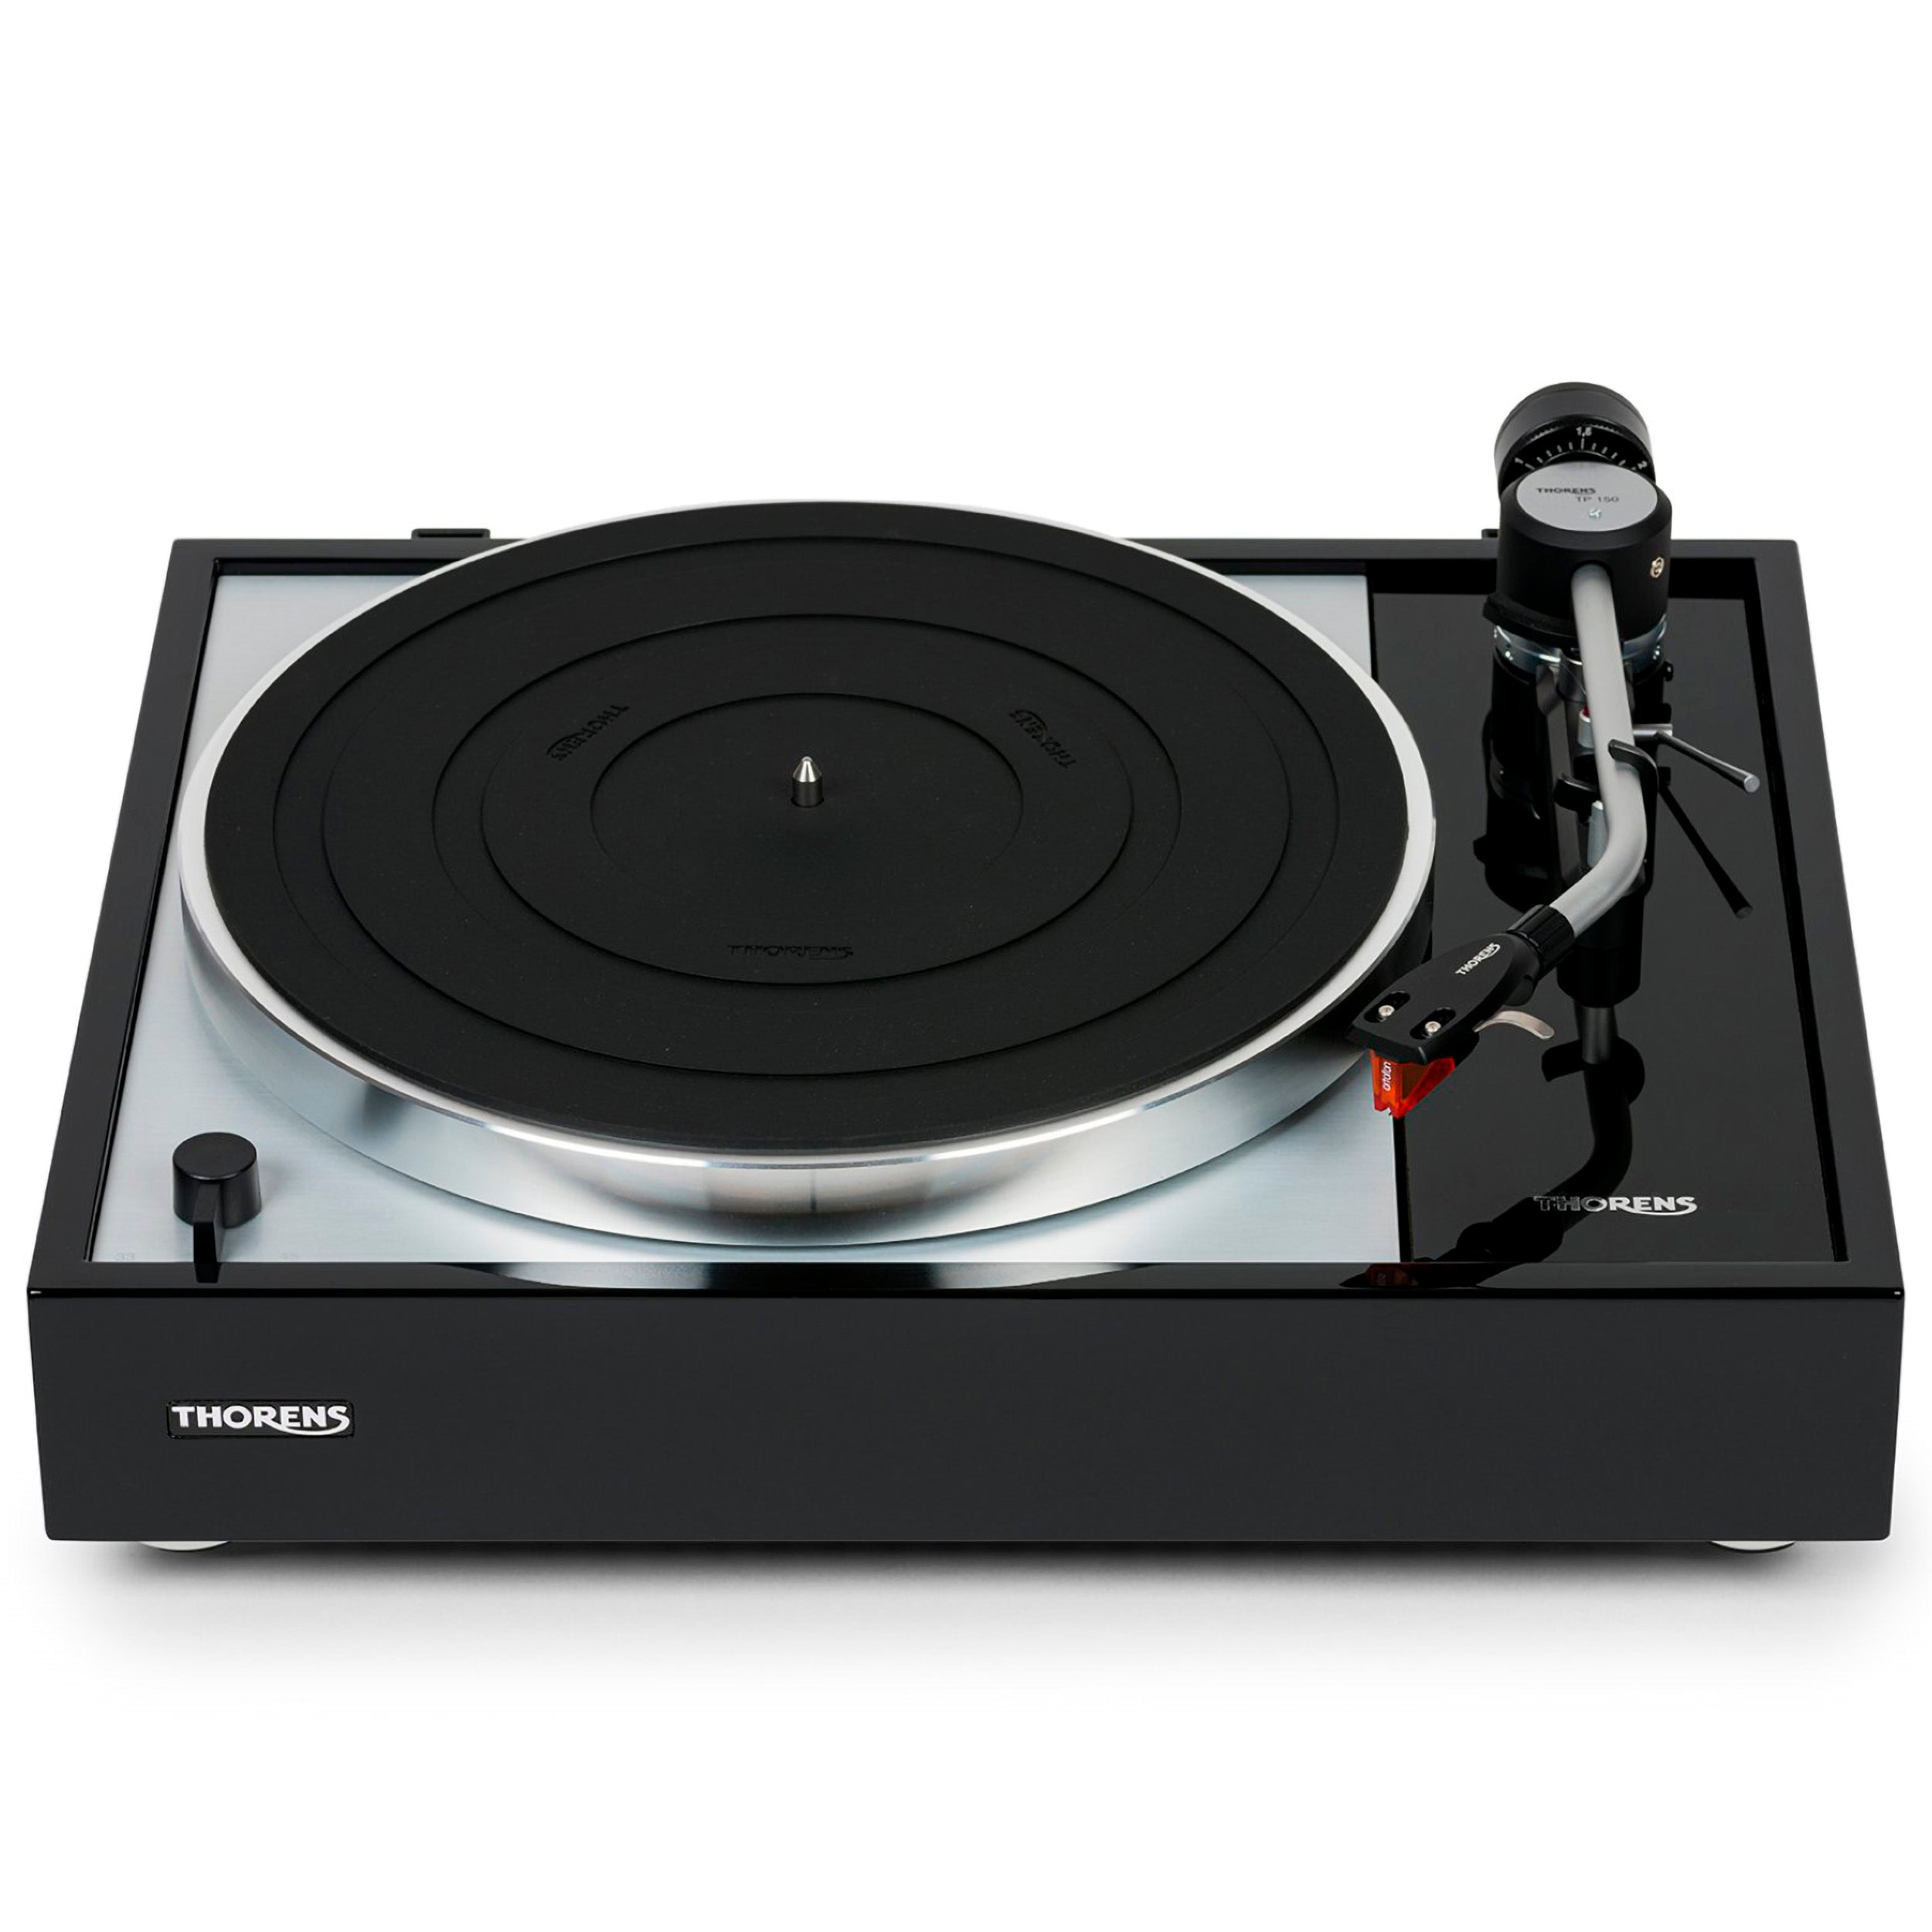
Tonearm in carbon fiber
Rega RB-330 Tonearm
Plinth made of material from the aerospace industry
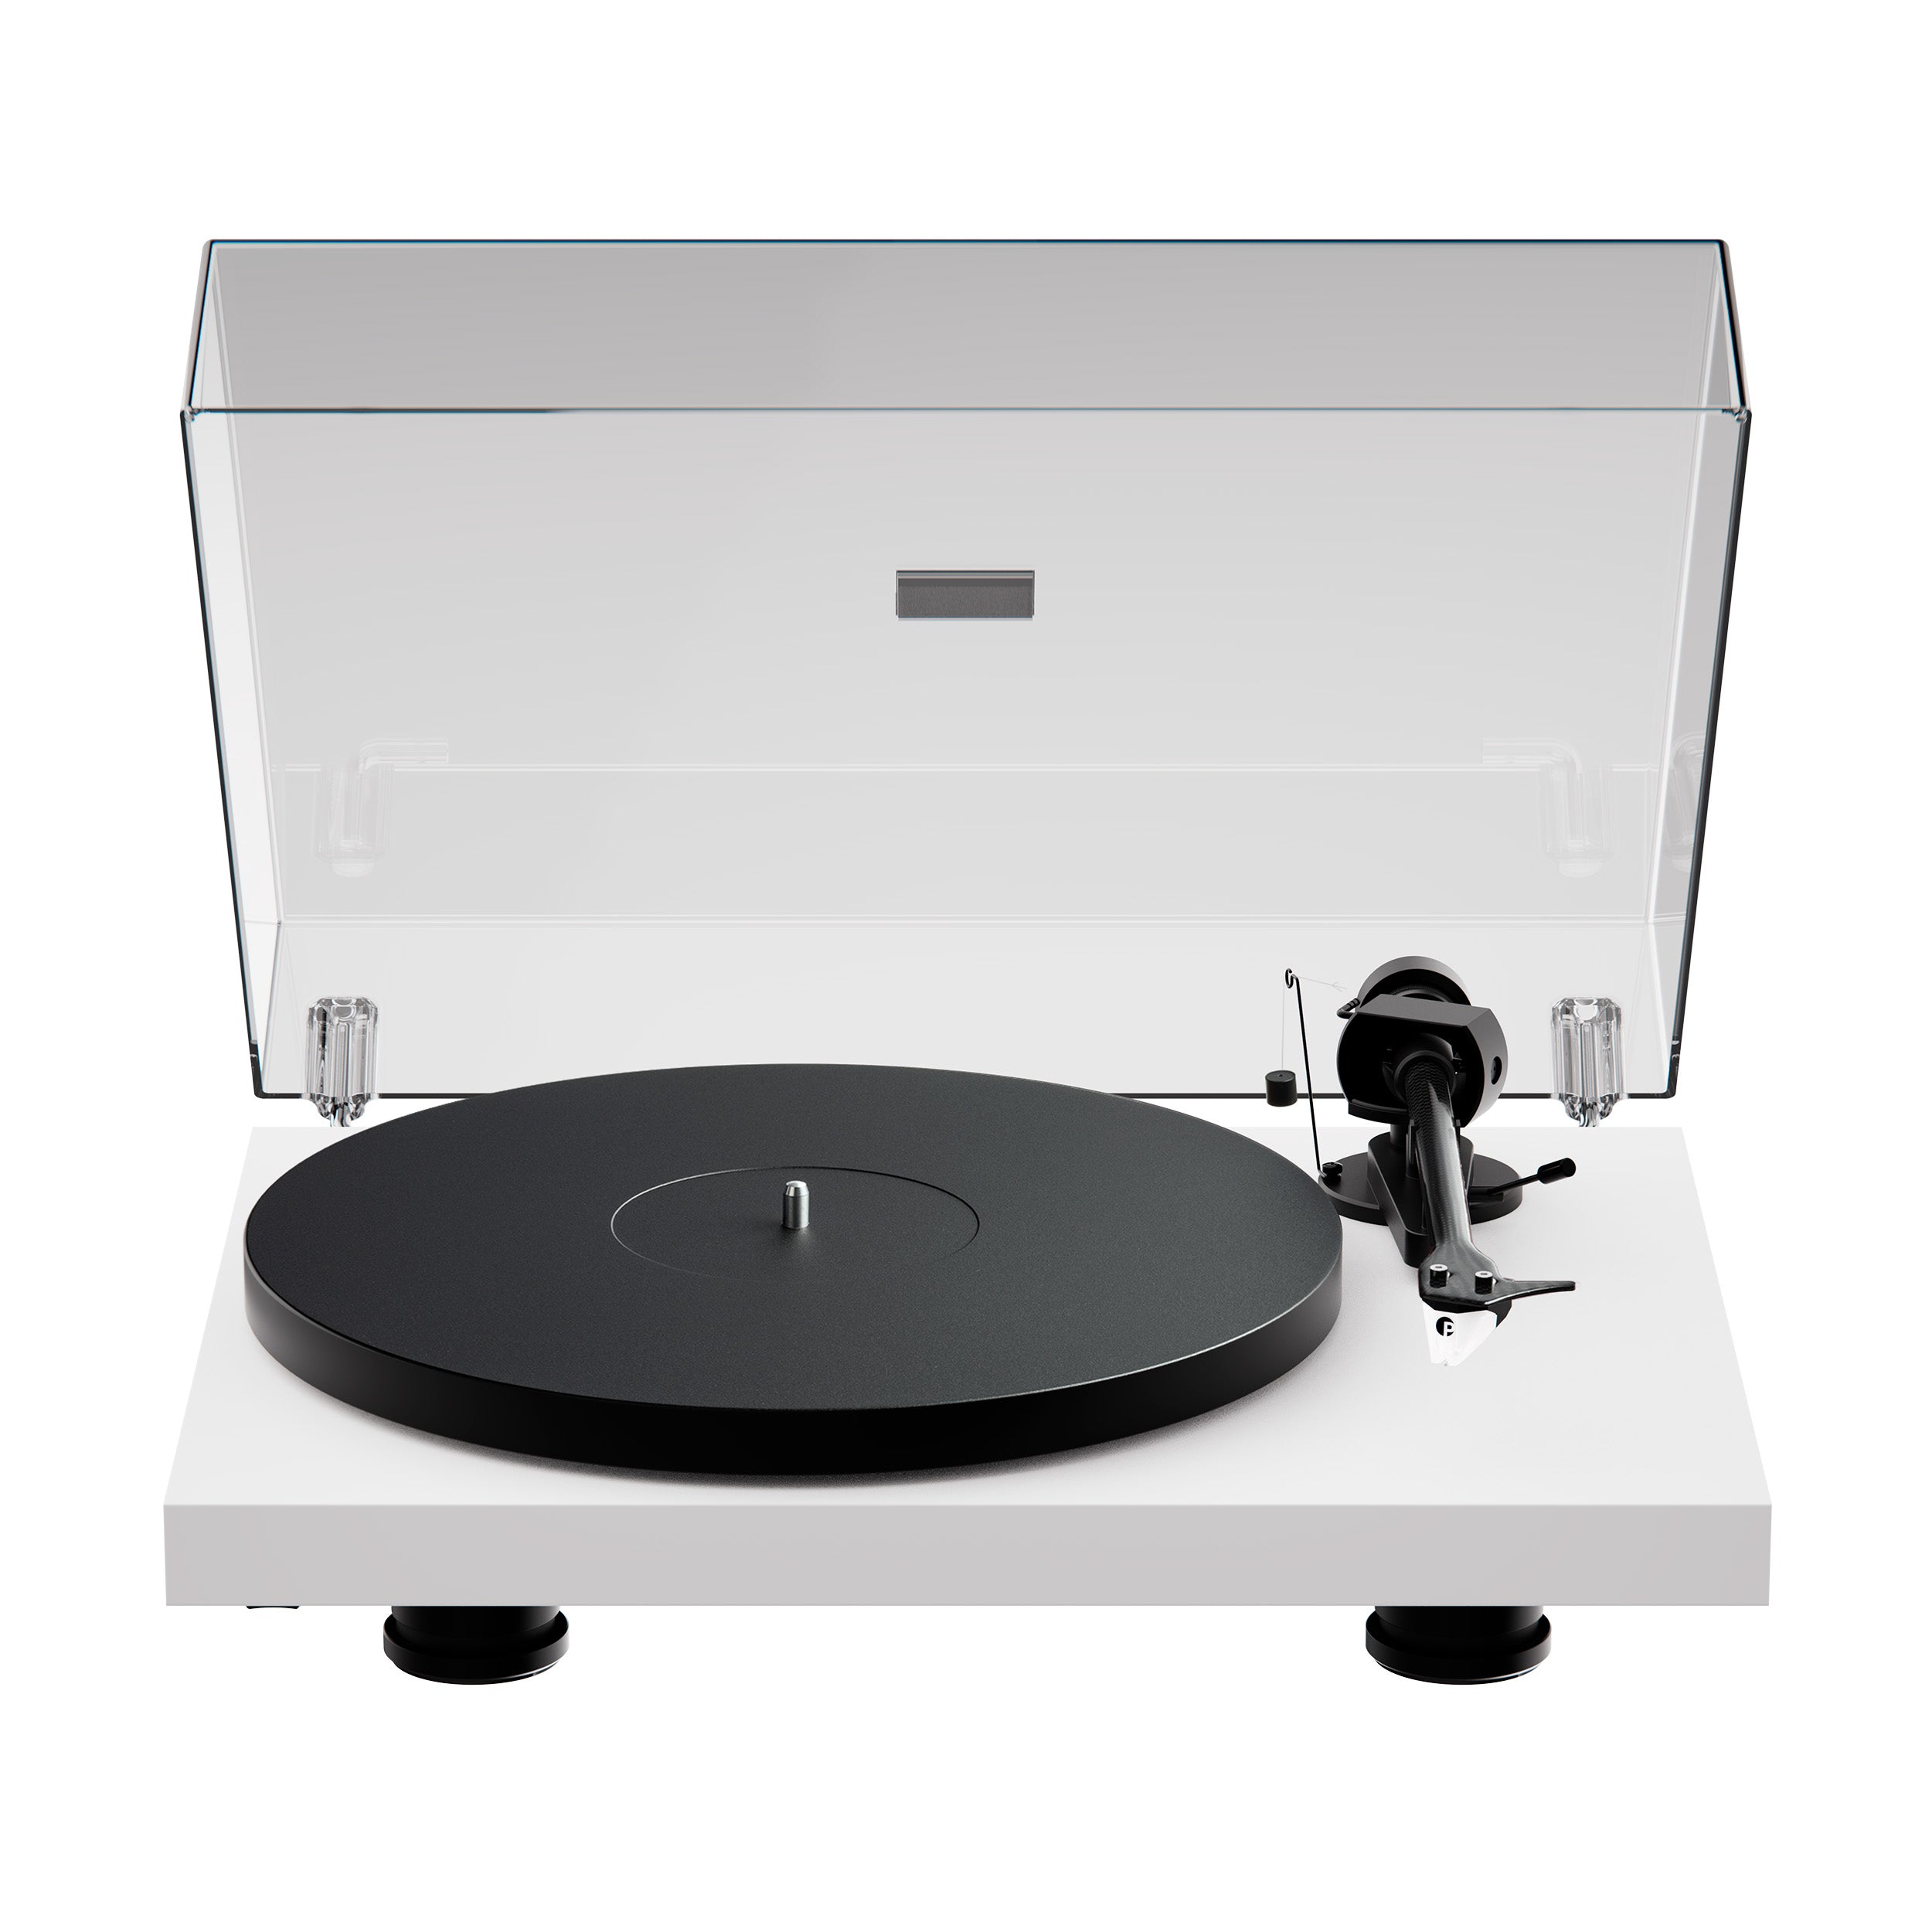
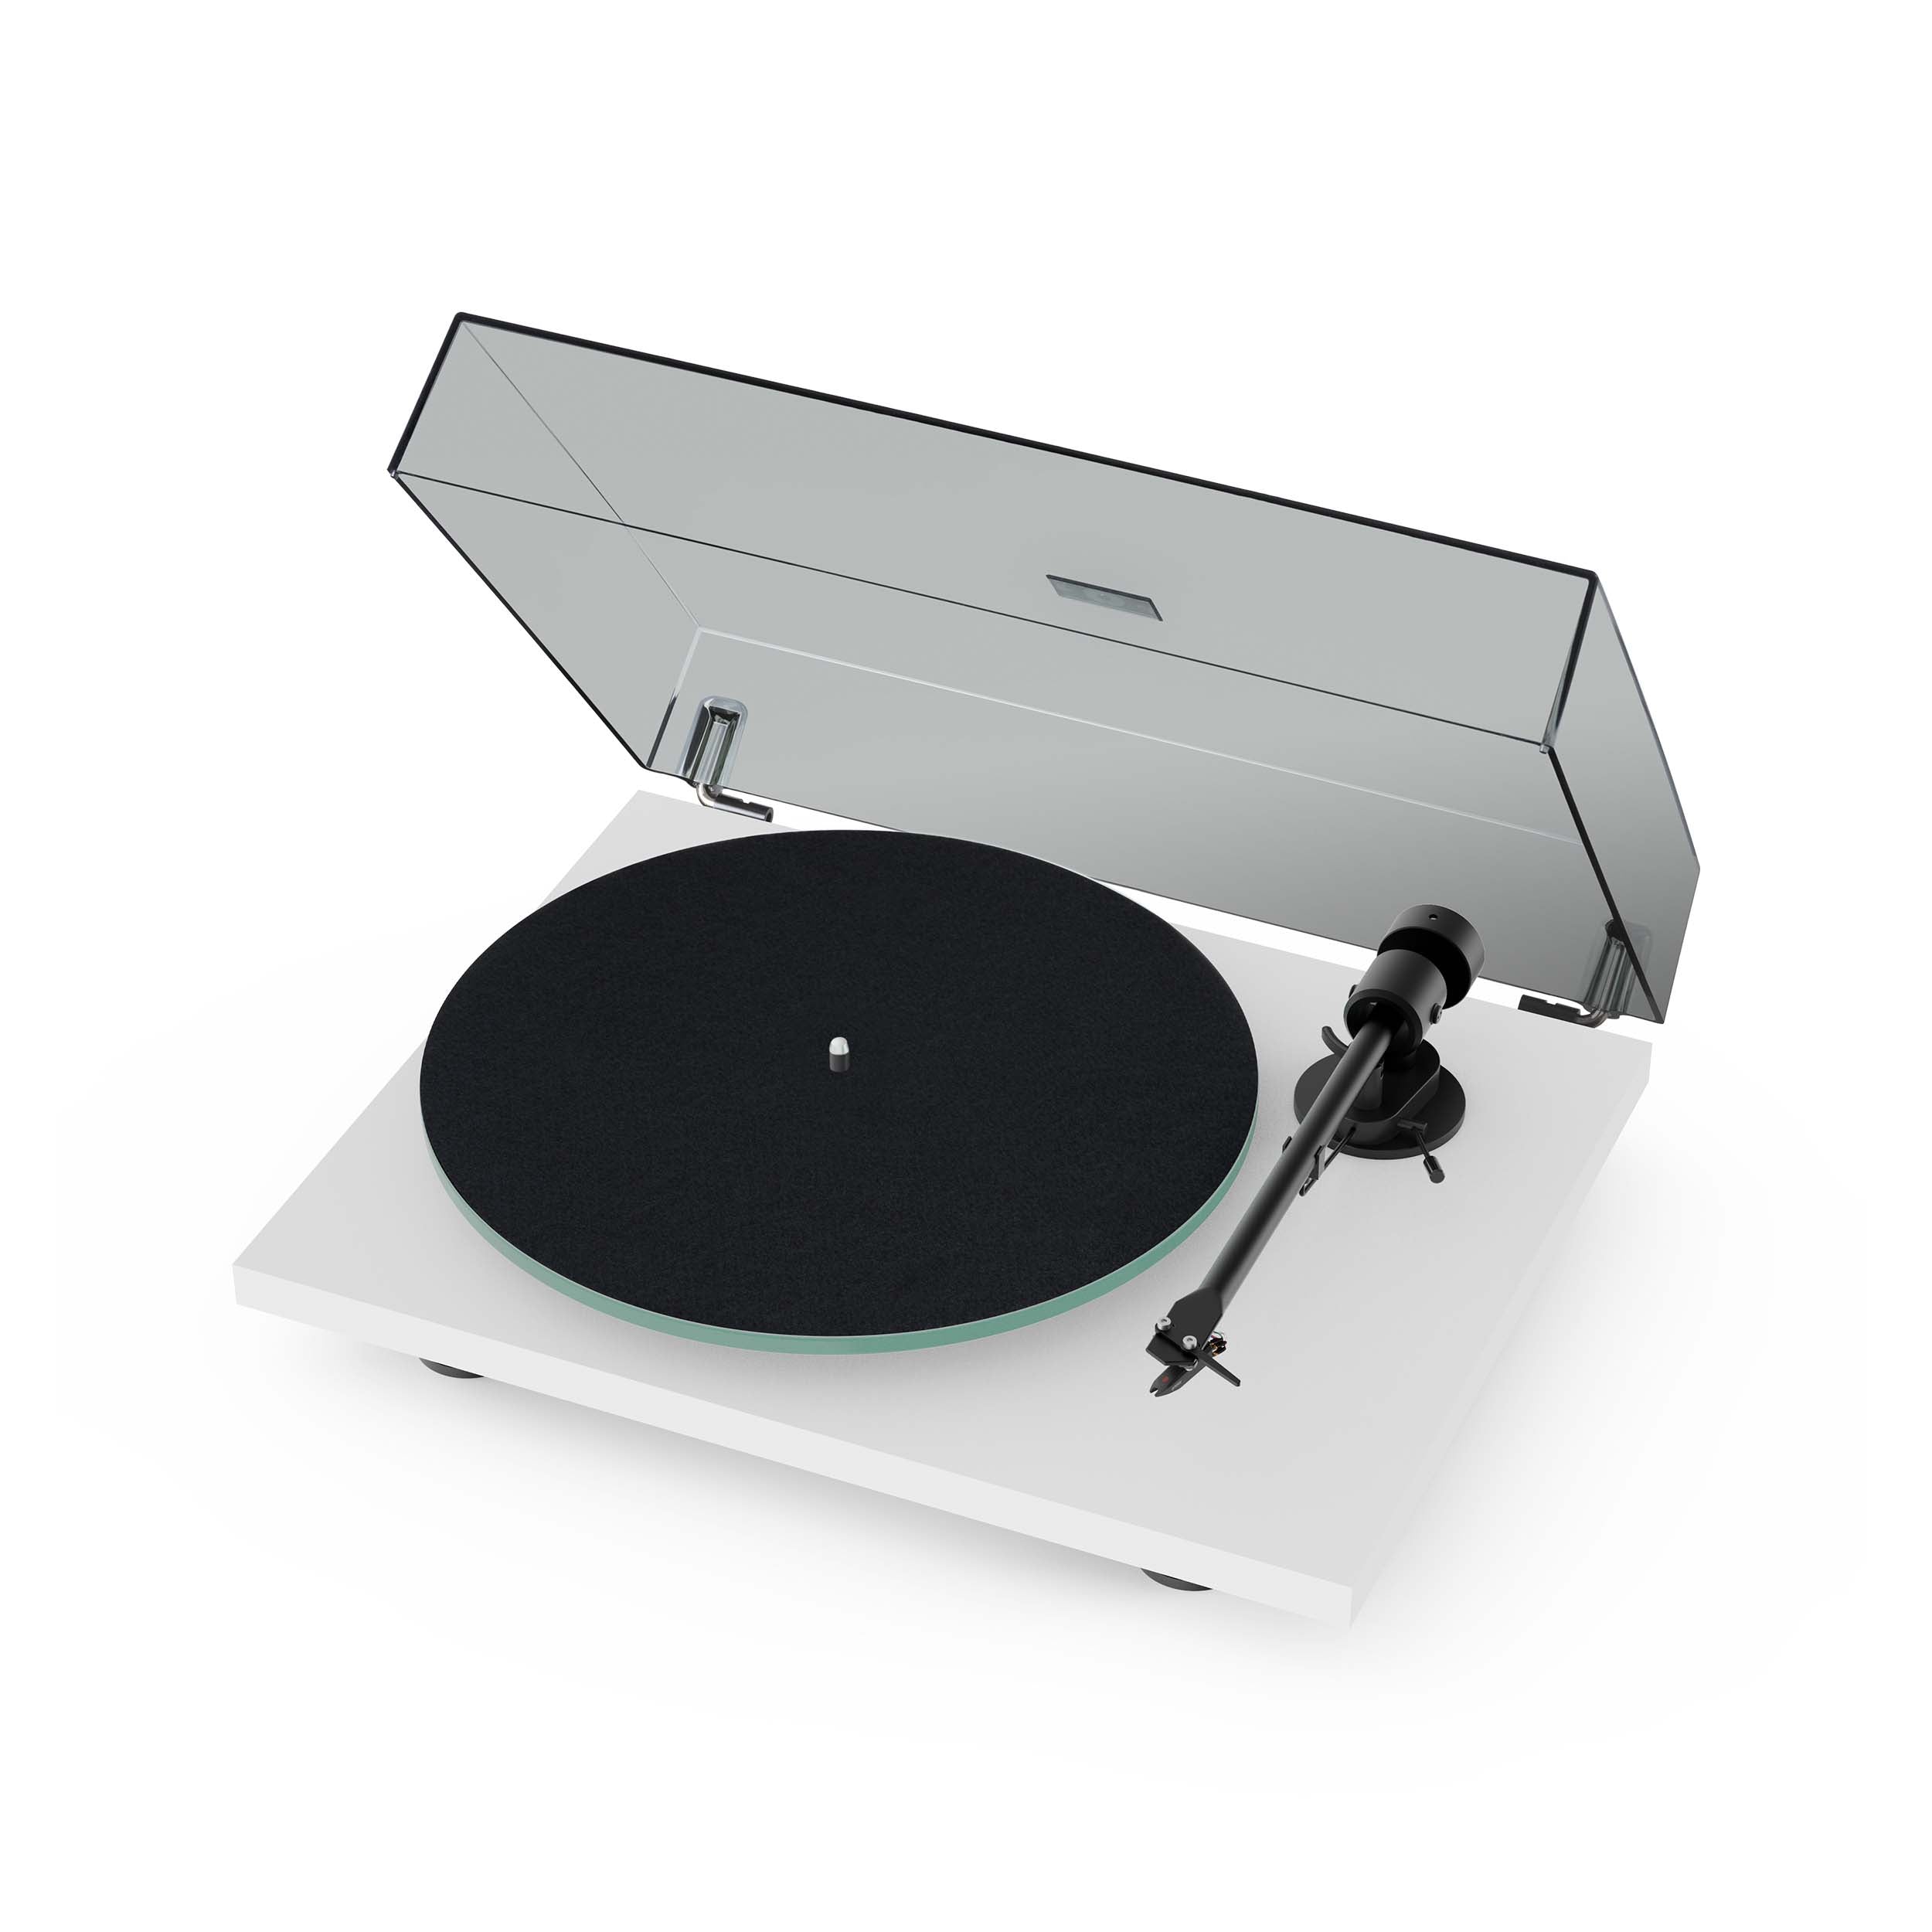
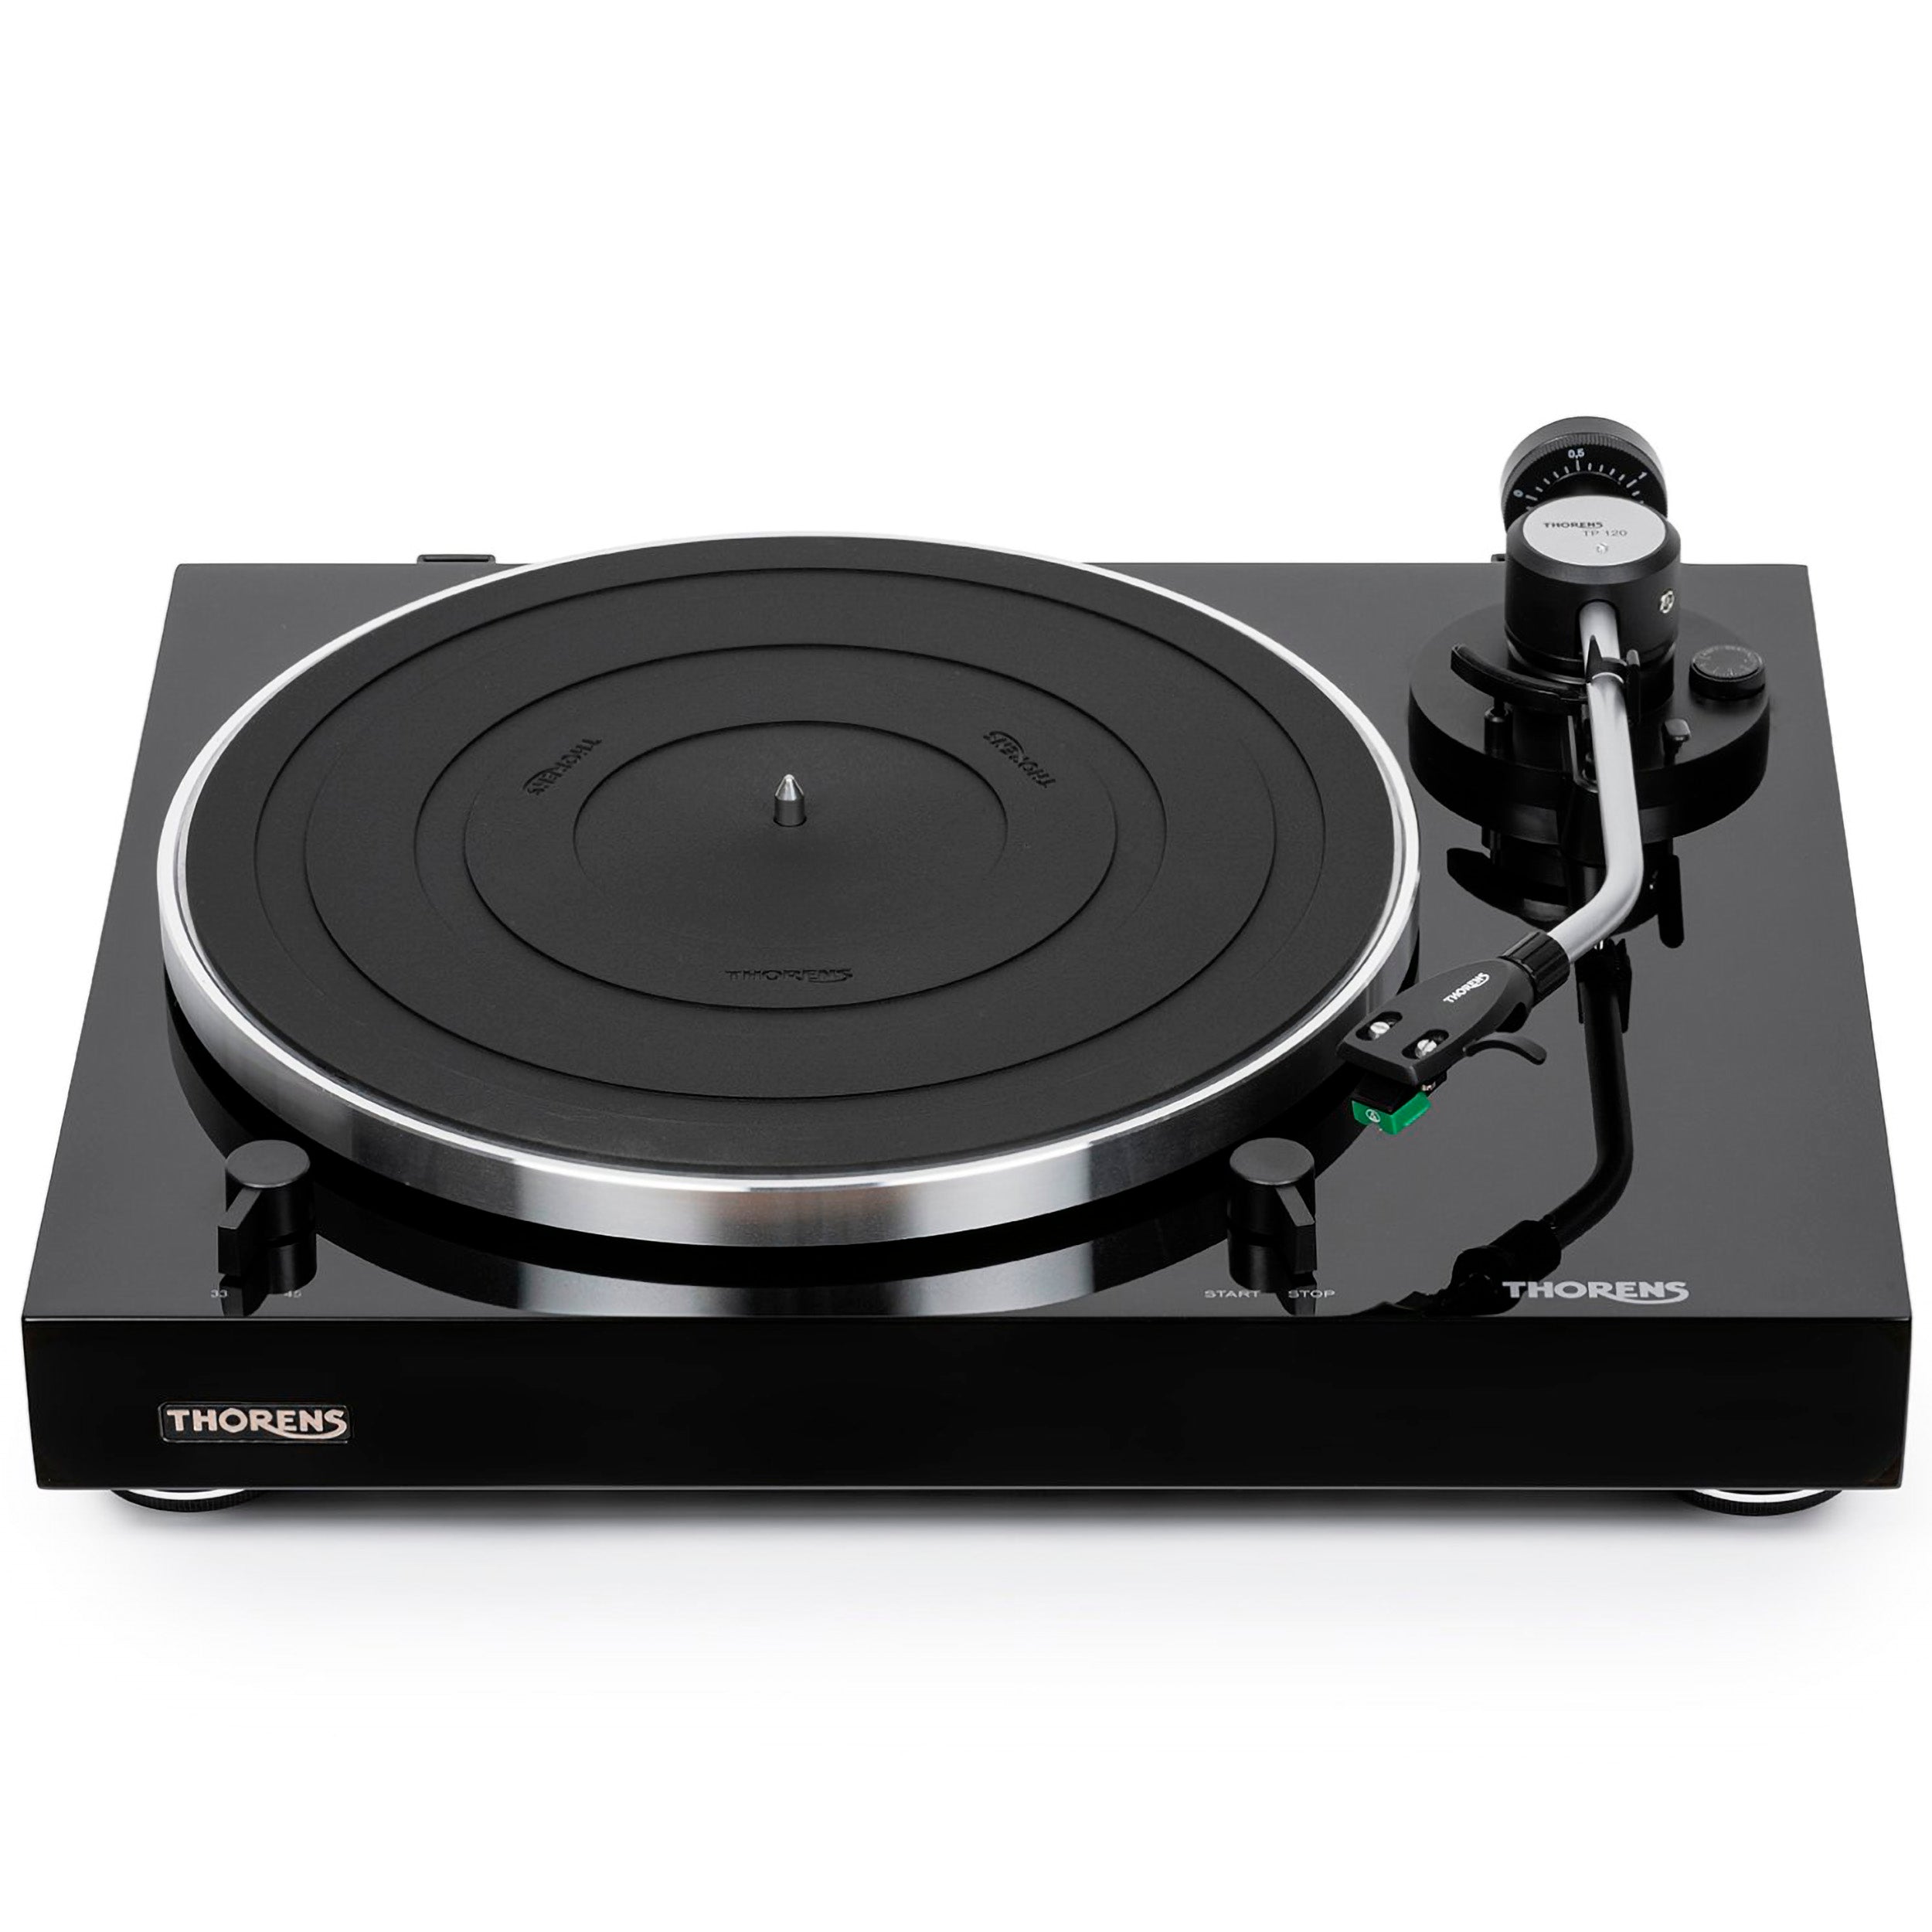
5. Steps to set up the turntable
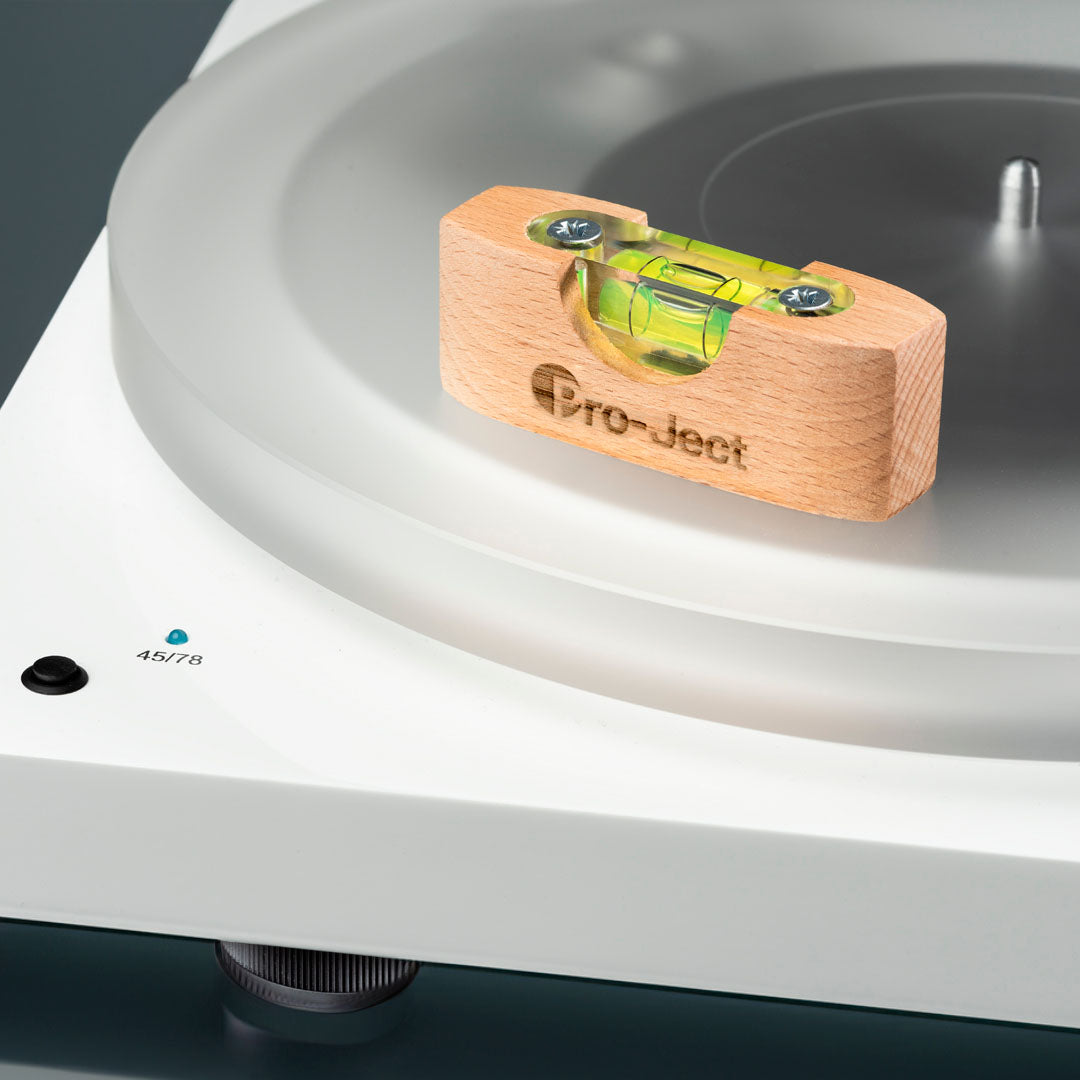
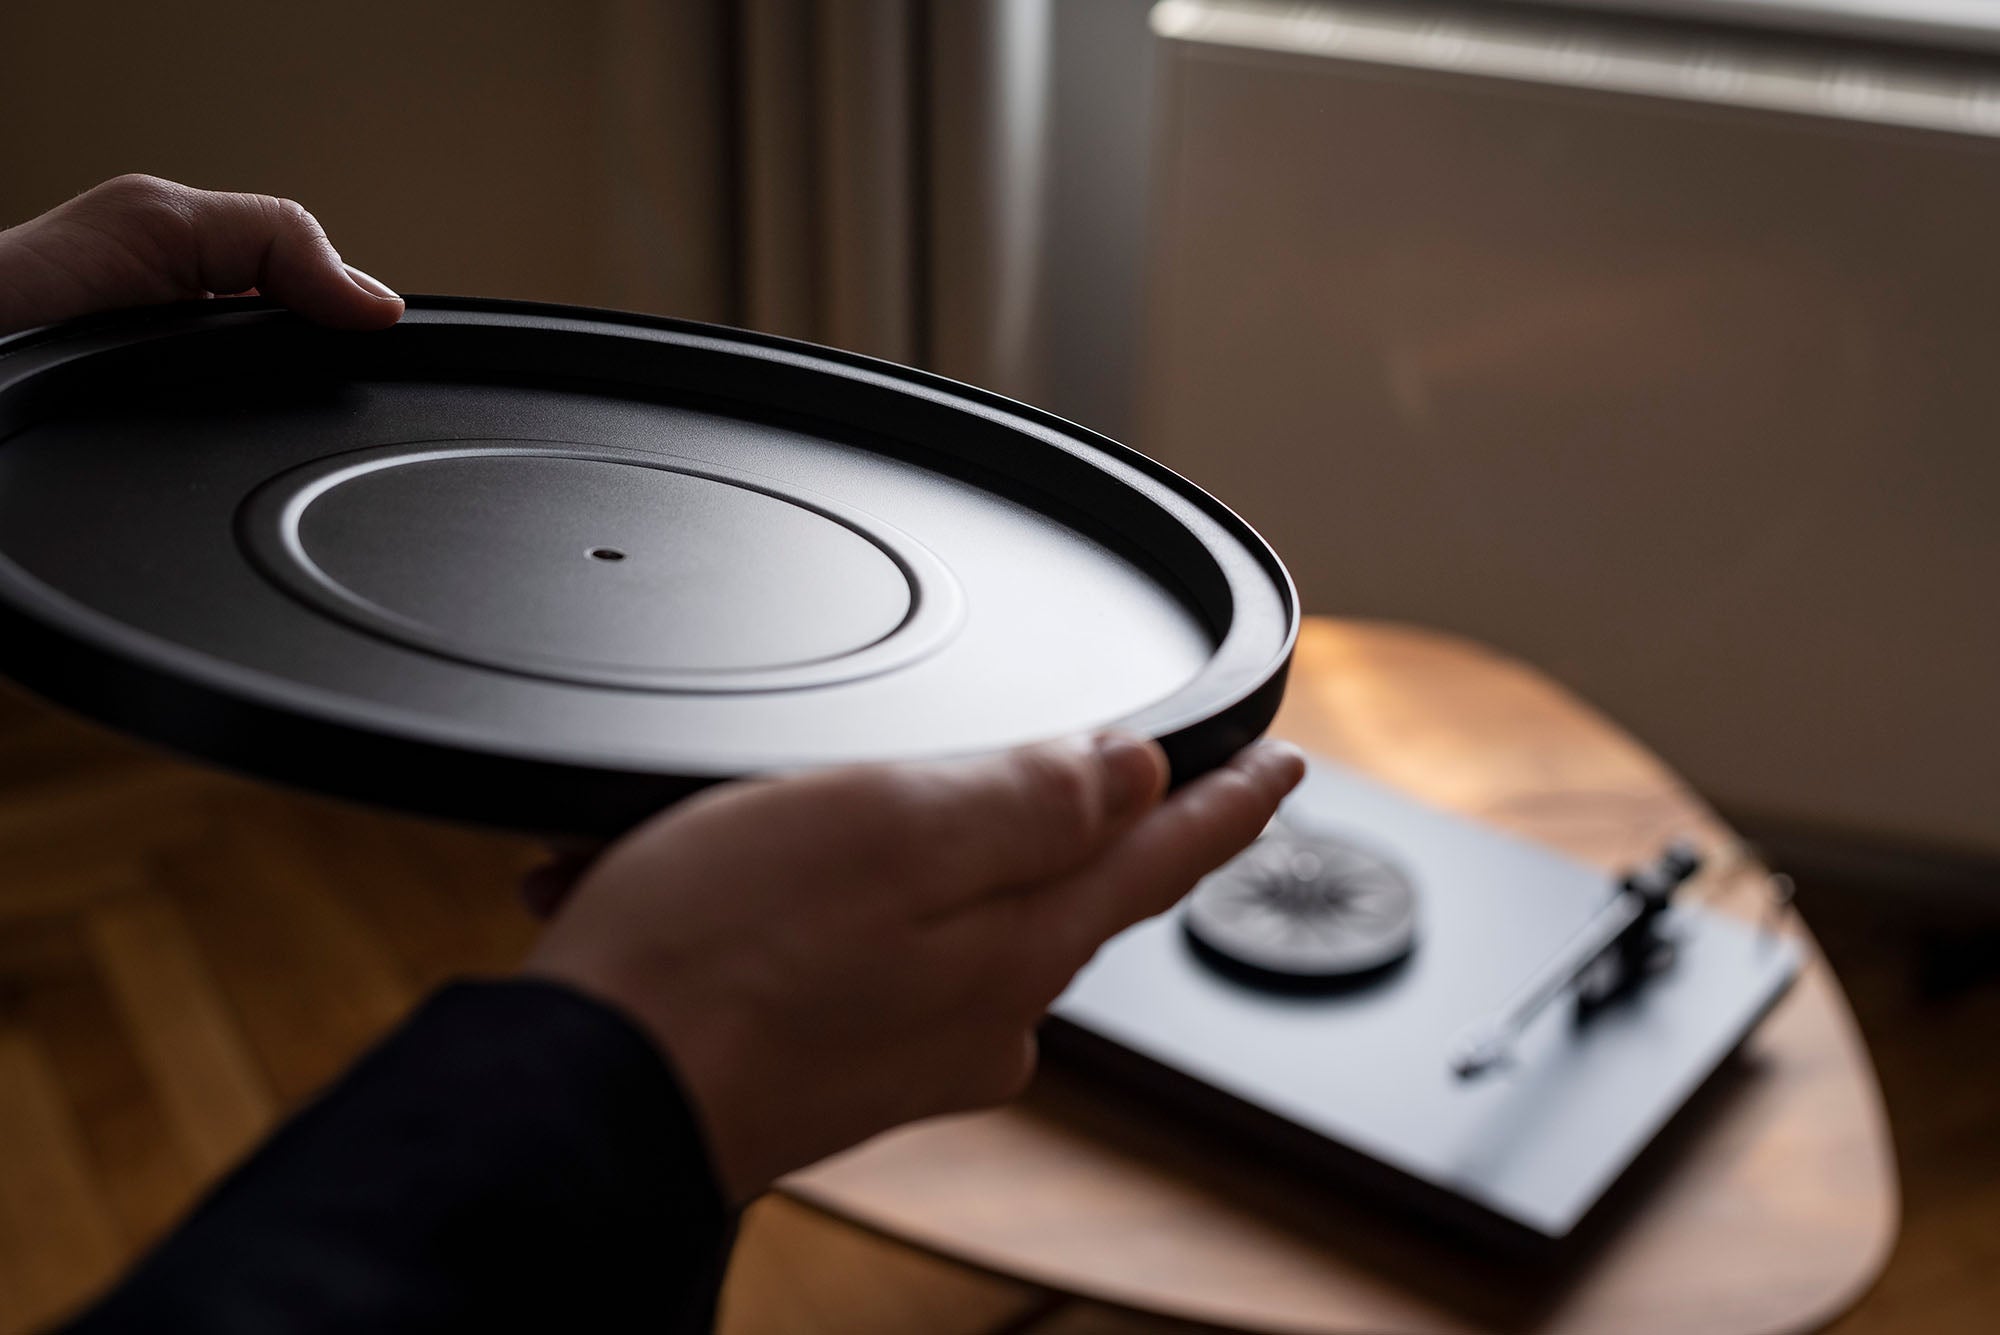
An even base
Start by placing your turntable on a solid, level surface. Use a spirit level to ensure that the turntable is completely horizontal. This ensures that all the adjustments that follow are made on the correct basis.
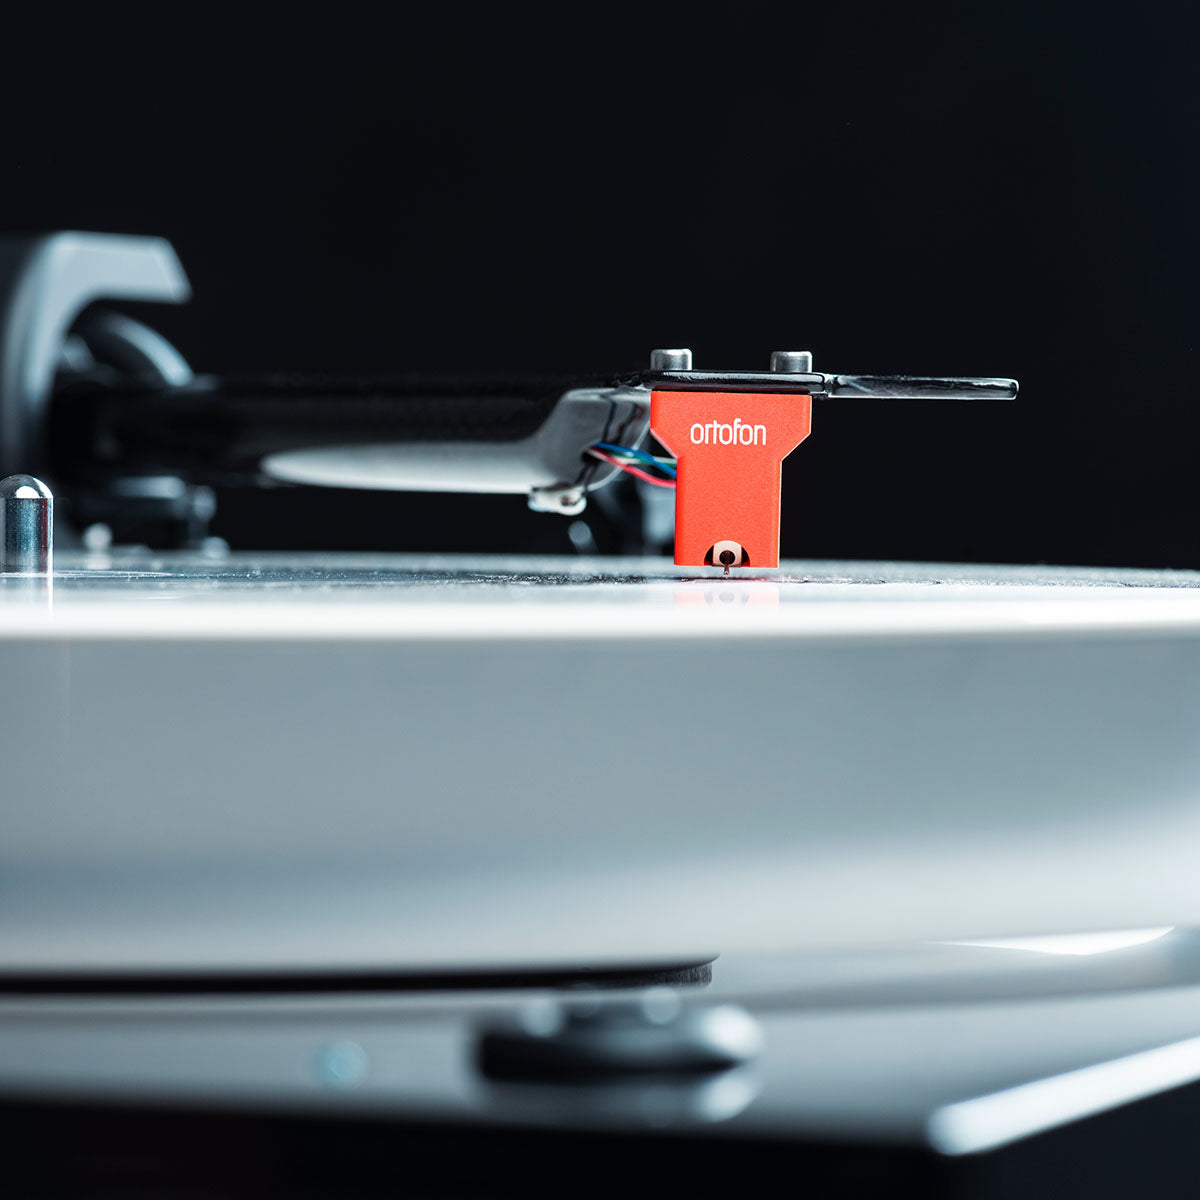
2. Adjustment of the pickup
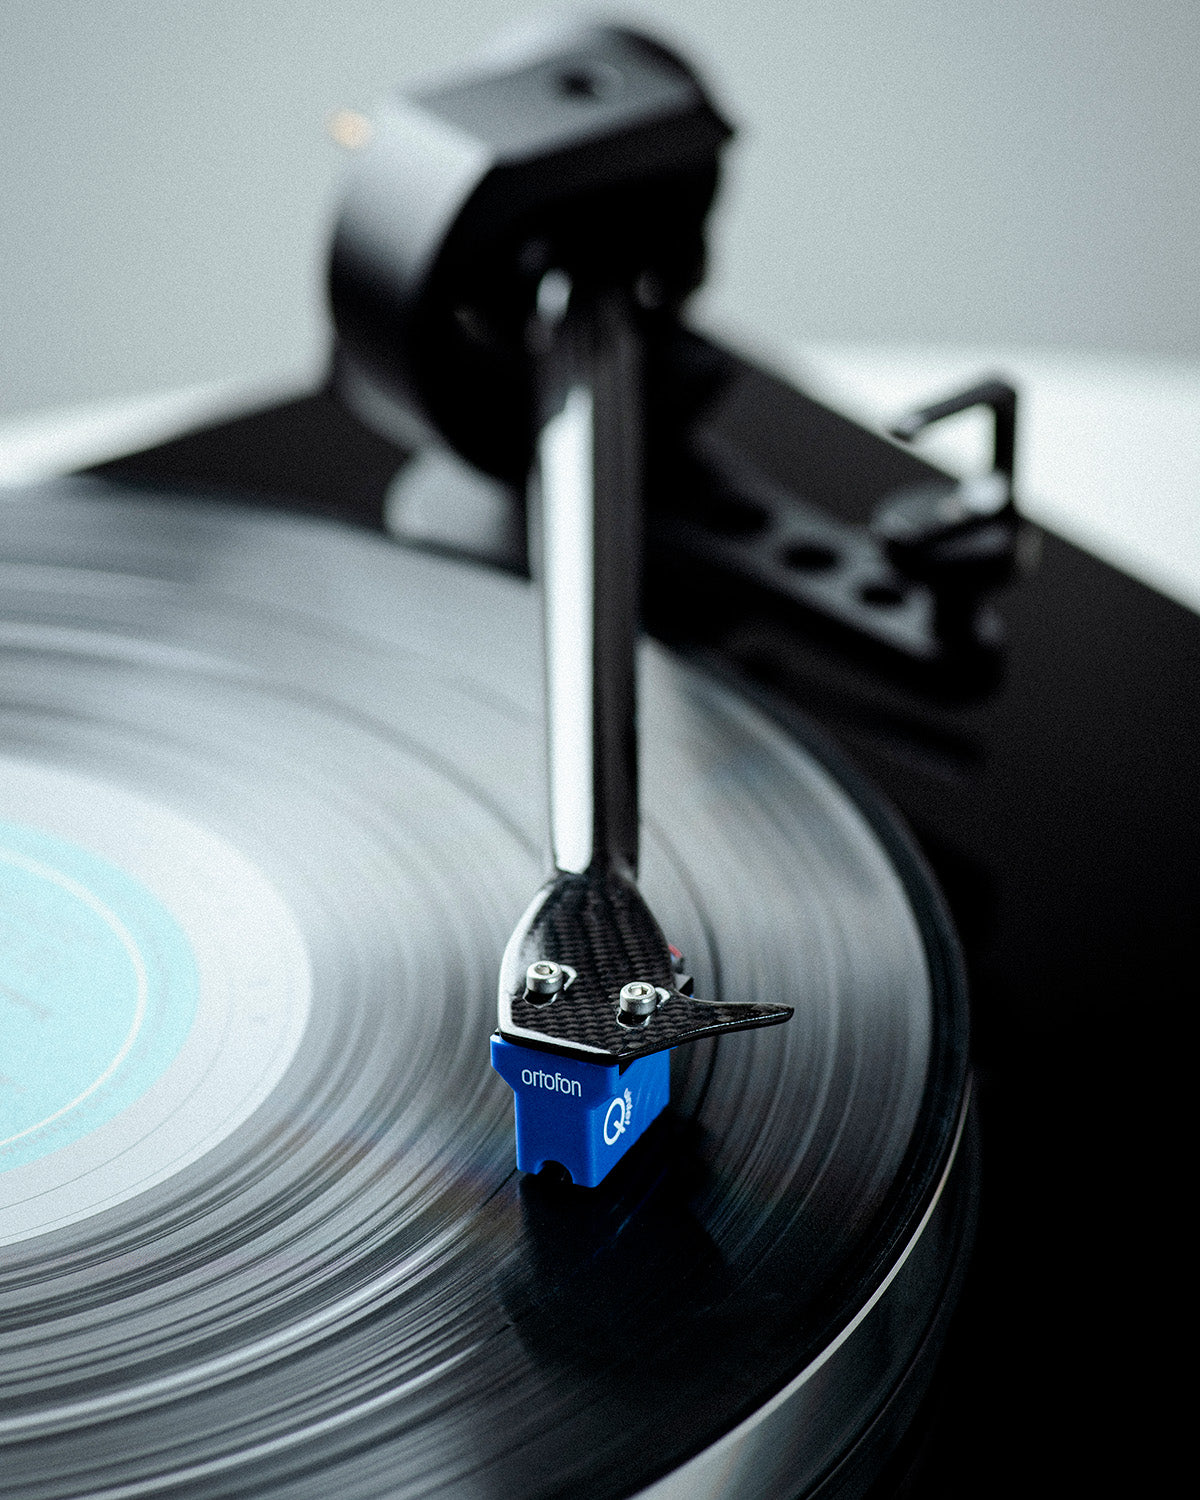
When we talk about the cartridge angle, we are referring to the precise position in which the cartridge is mounted on the tonearm, so the stylus has the correct angle in relation to the record’s grooves. Correct angle adjustment is crucial for precise and optimal tracking of the music.
To achieve the correct placement of the cartridge, we use a protractor (a kind of gauge) to guide us. The purpose of this adjustment is to ensure that the stylus has the best possible contact with the record’s grooves, resulting in correct sound tracking. By following the protractor’s lines precisely, you ensure that the cartridge is mounted at the correct angle in relation to the record’s surface.
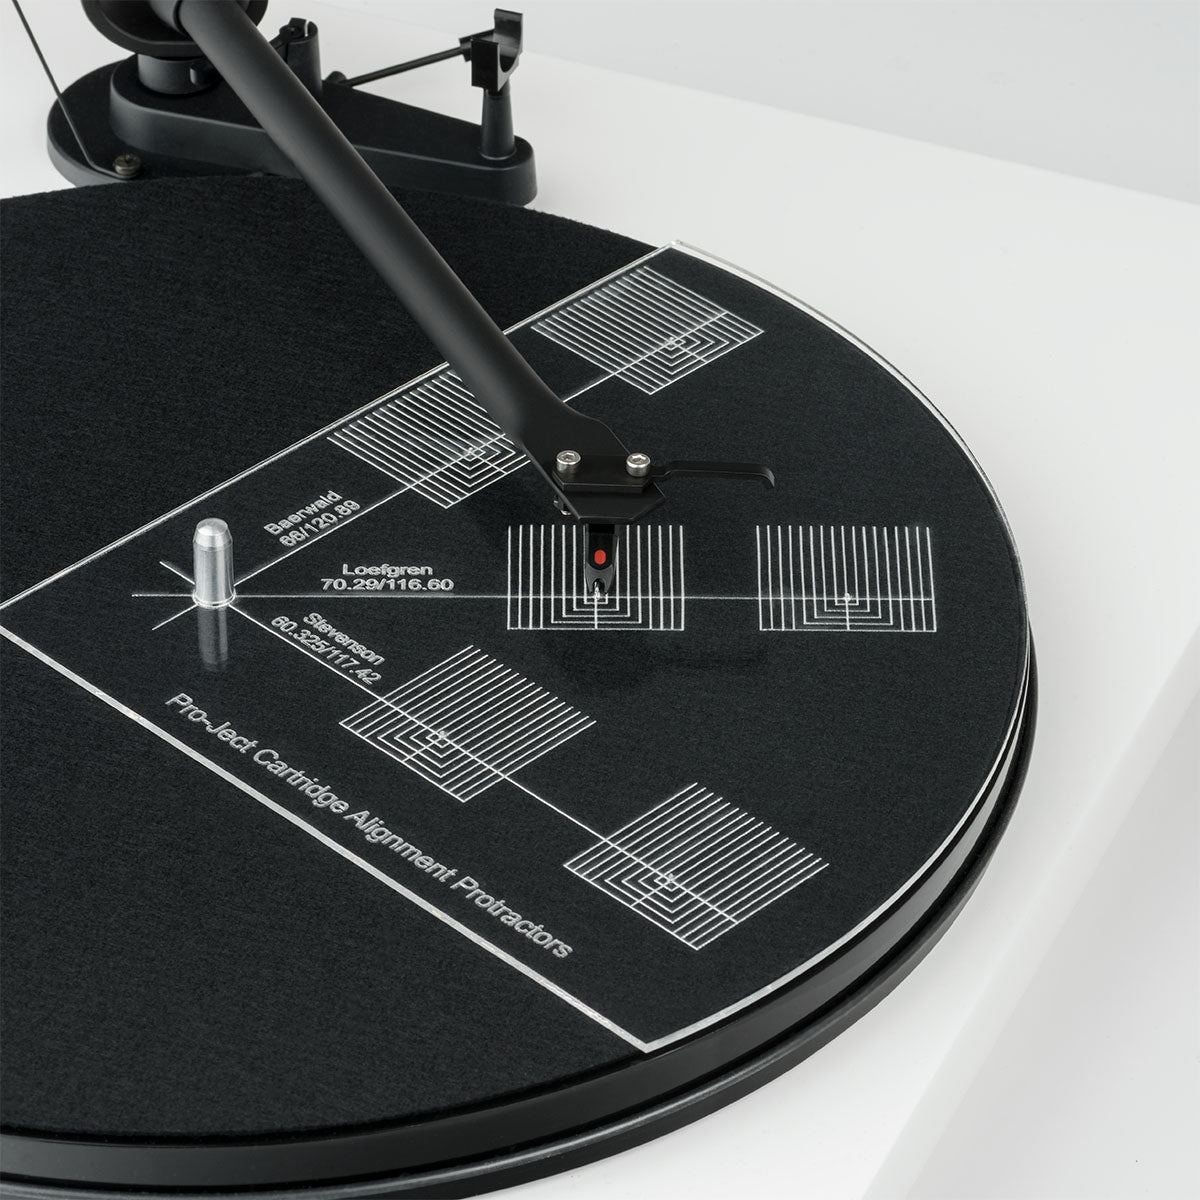
2.1 Use the protractor
Follow these steps when using the protractor:
- Place the protractor on the turntable platter so that the small hole is centered over the spindle.
- Now adjust the cartridge until the sides of the cartridge body are aligned exactly with the lines on the protractor. This ensures that the cartridge is at the correct angle in relation to the record grooves.
It is important to note that the specific angle may vary depending on the manufacturer and model of your cartridge. Some manufacturers may specify the desired angle in their documentation or instruction manual. If that is not the case, it is a good idea to ensure that the cartridge is aligned as parallel to the record grooves as possible using the protractor.
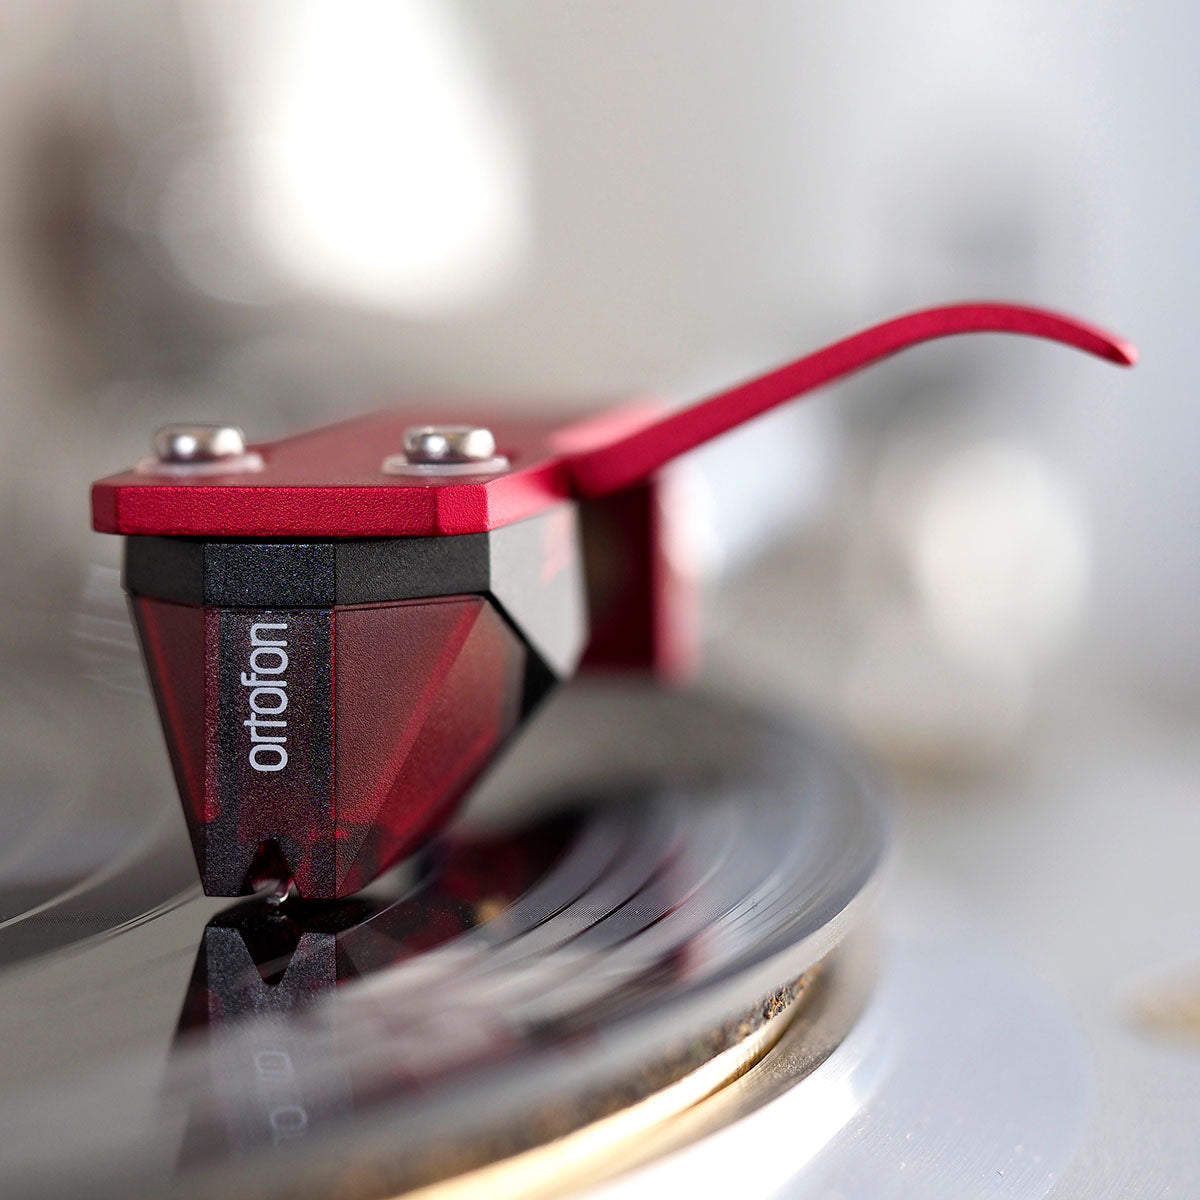
3. Adjust the needle pressure
The correct tracking force is crucial for precise playback and minimal wear on the record. Find the manufacturer's recommended tracking force. Use a digital stylus force gauge or the turntable's built-in scale to adjust the weight. Start by resetting the force so that the stylus floats lightly above the record without touching it. Then carefully adjust the weight to achieve the recommended tracking force.
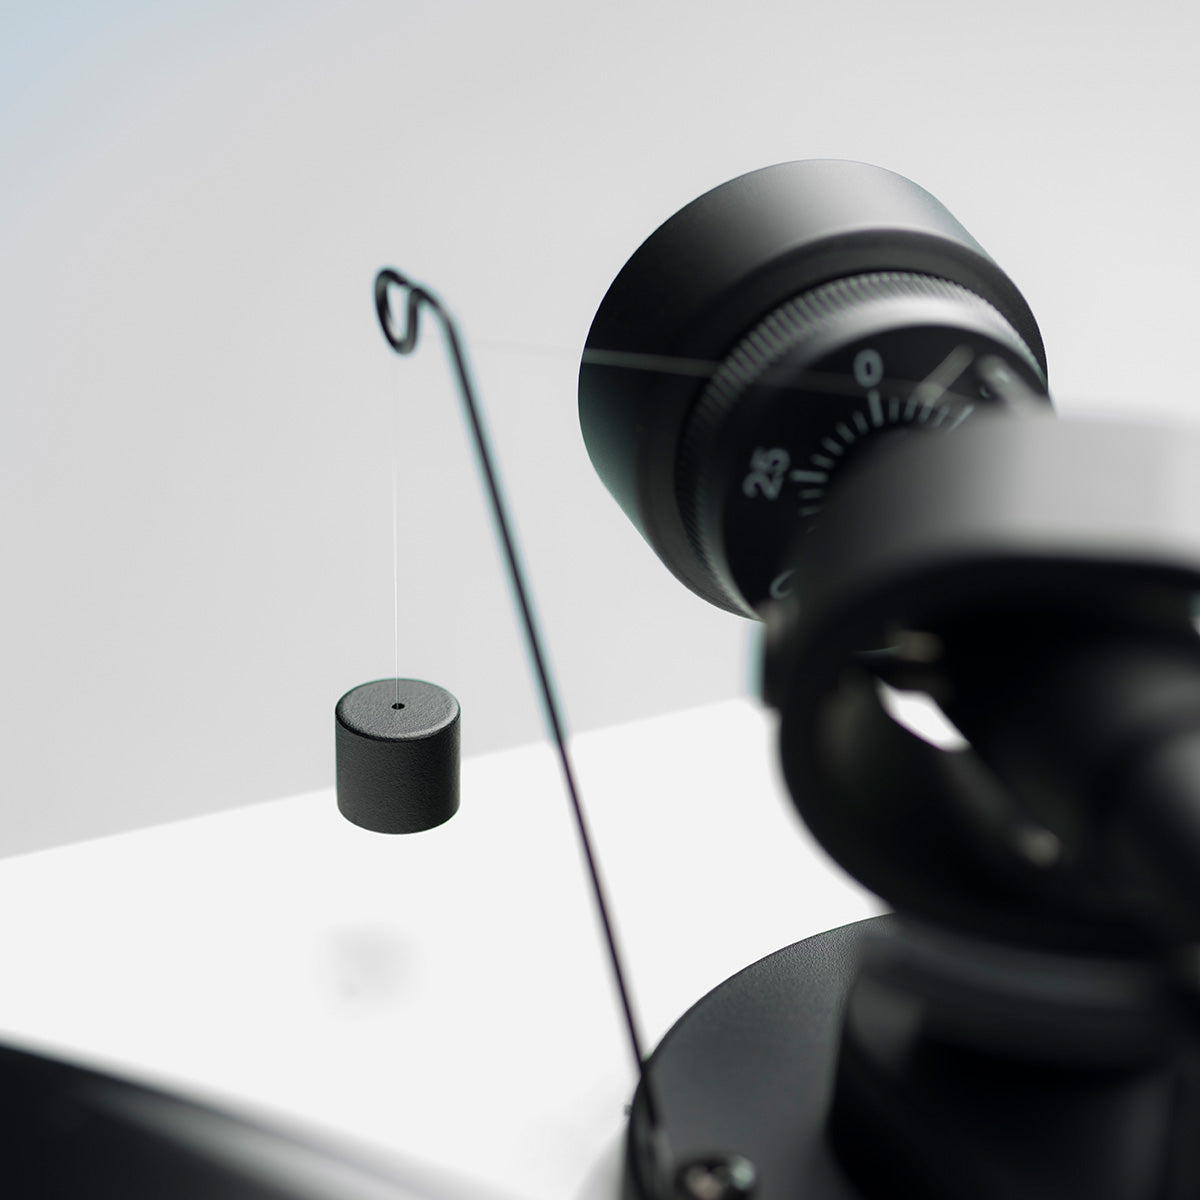
4. Adjust the anti-skating
Anti-skating is designed to maintain a balance between the force that pulls the tonearm toward the center and the force from the stylus that seeks toward the outer edge of the record. This force arises due to the centrifugal force from the record's rotation and the perpendicular movement of the stylus in the grooves. With correct anti-skating adjustment, you ensure that the stylus tracks the record groove accurately and minimizes wear on both the stylus and the record.
To set the anti-skating correctly, start by locating the anti-skating control on your turntable. This control may take the form of an adjustable weight, a line, or a magnetic adjustment. If the manufacturer does not specify a value, anti-skating is usually set to the same value as the tracking force. Place the cartridge in the middle of one of your records and observe its movement. It should be balanced and neither pulled toward the center nor pushed away. Once this has been achieved, you have set the anti-skating correctly.
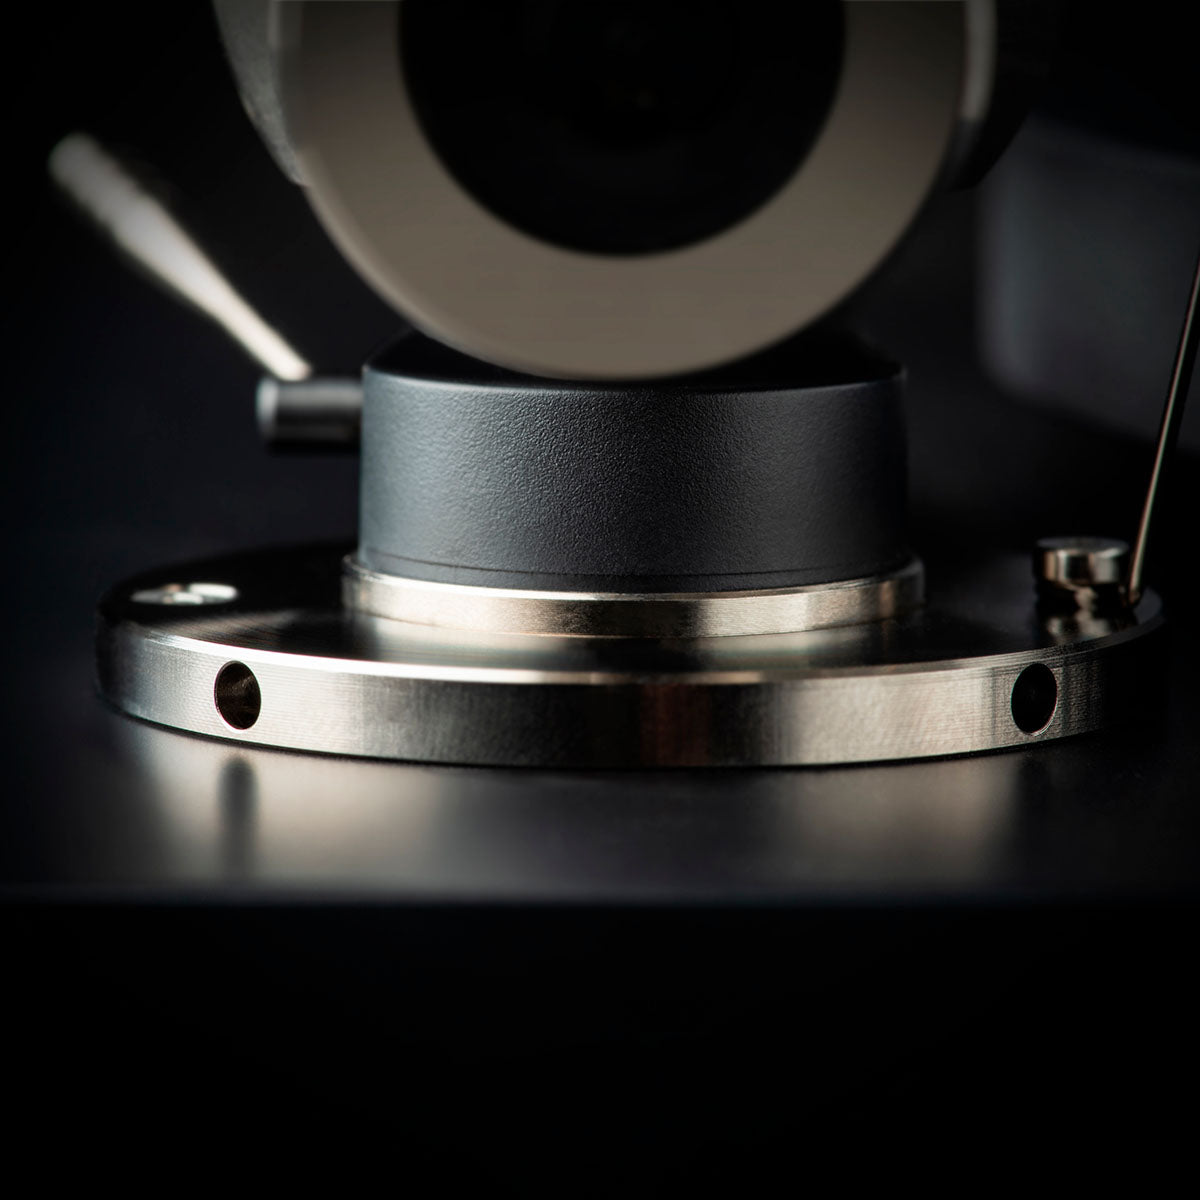
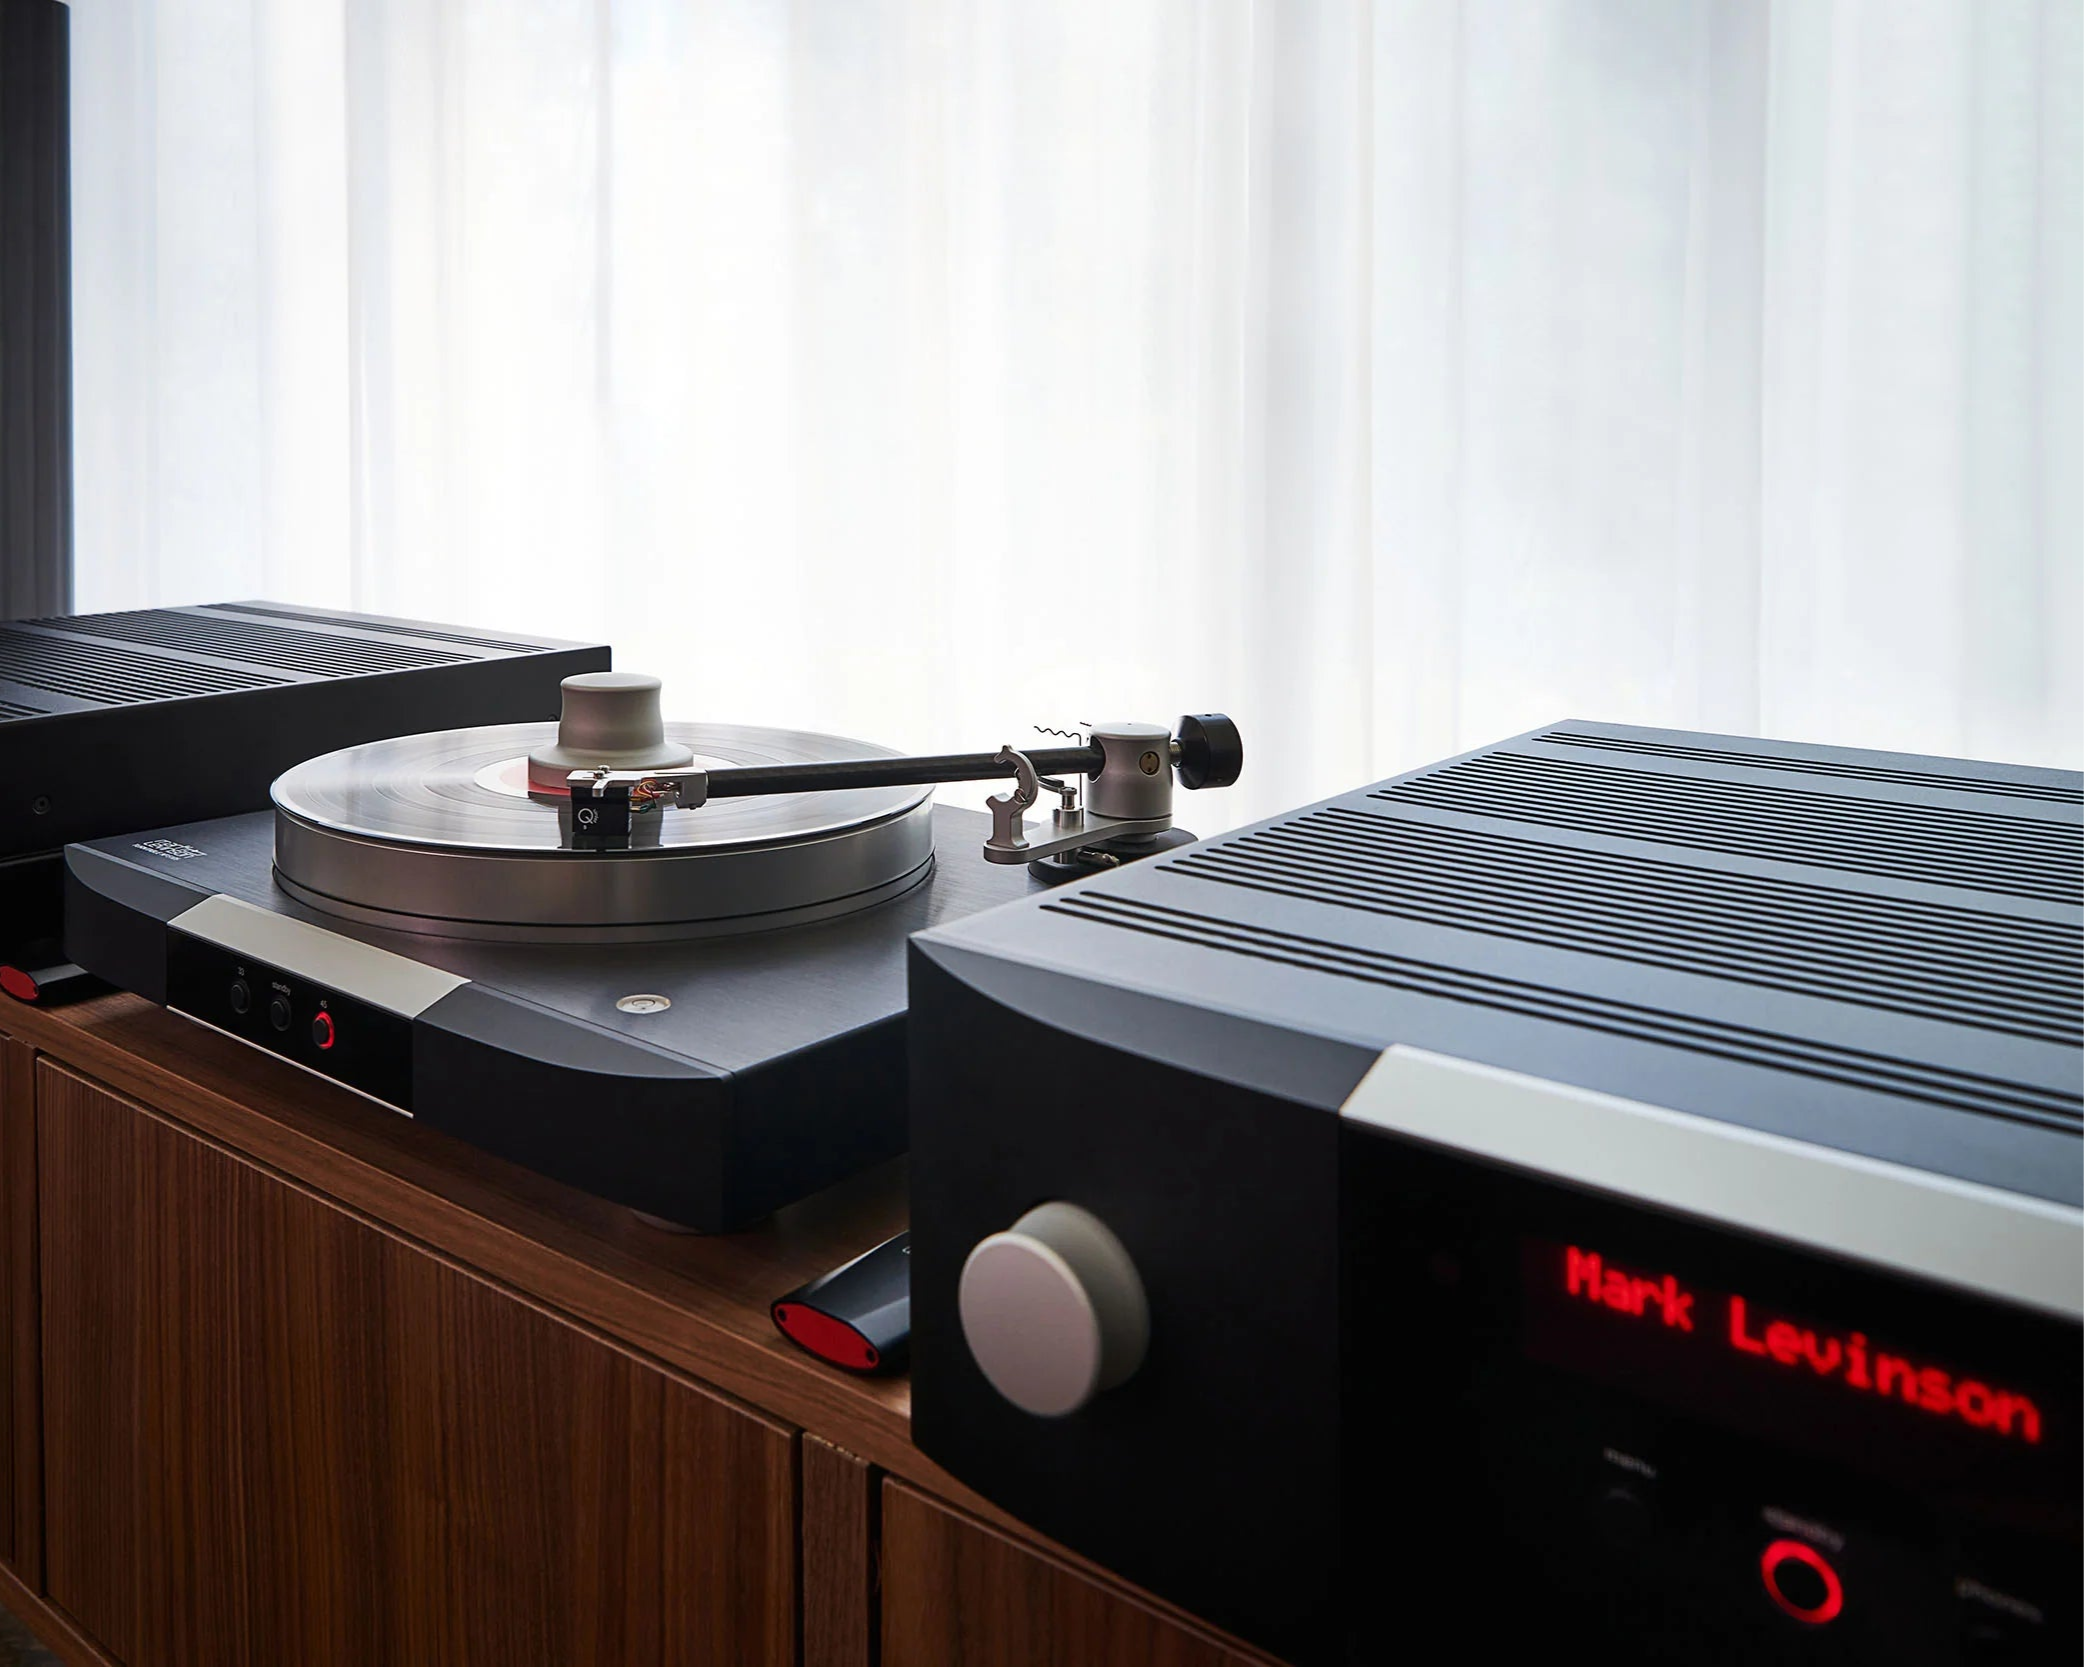
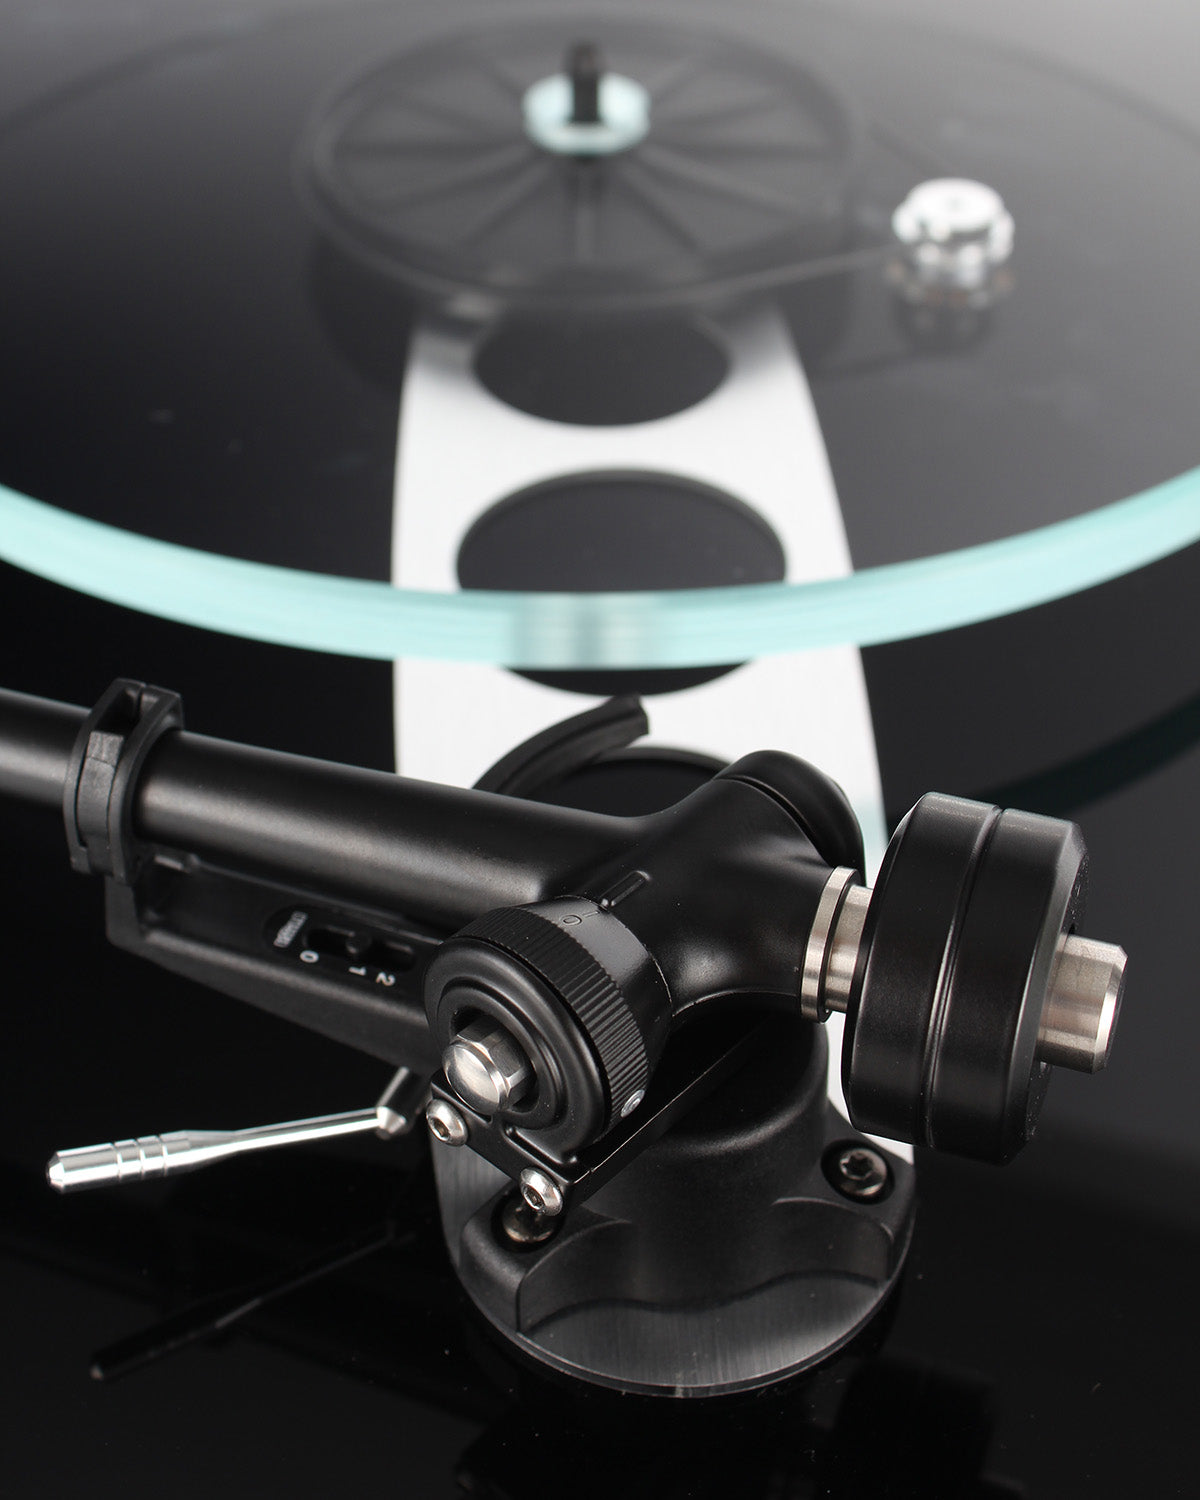
5. Adjust the VTA - The vertical tracking angle
For most turntables, you don’t need to think about the VTA if you stick to the common cartridge brands. That’s because the turntable manufacturers have adjusted the VTA to match these brands.
If you start experimenting with other turntable mats, however, you need to pay close attention to whether they have the same height as the original, as this can change the VTA.
If you need to change the VTA, the angle of the stylus cantilever should be level in relation to the record. When it is, you have set the VTA correctly. You will typically find the VTA at the rear of the tonearm in the form of an Allen screw, as shown in the picture.
Let the Sound Specialist help with all the difficult stuff
When you buy a turntable from us, you can have it set up by one of our specialists completely free of charge. That way, you can leave your worries behind and enjoy the fact that it is ready to deliver optimal sound quality - without you having to mess around with all the technical details. The setup will be carried out by owner and product specialist Thomas Mørk, who has more than 30 years of experience in turntable setup.
At Lydspecialisten, we want your journey into the world of vinyl to be as smooth and joyful as possible.

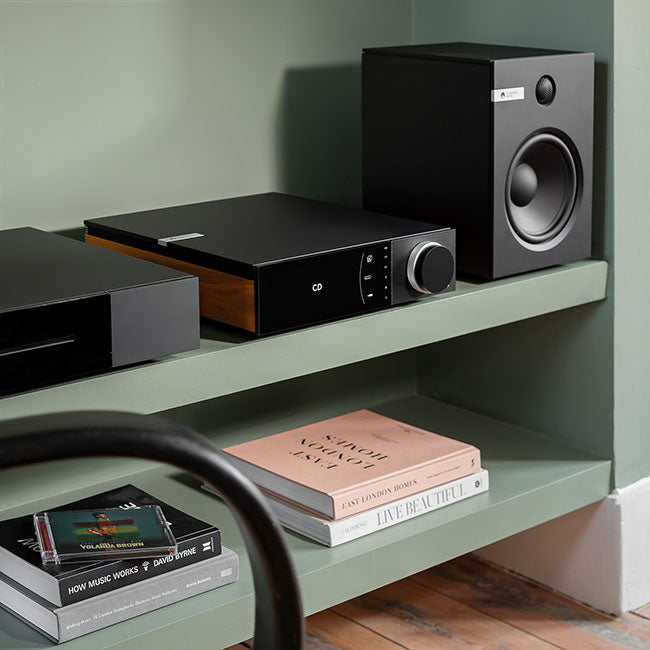
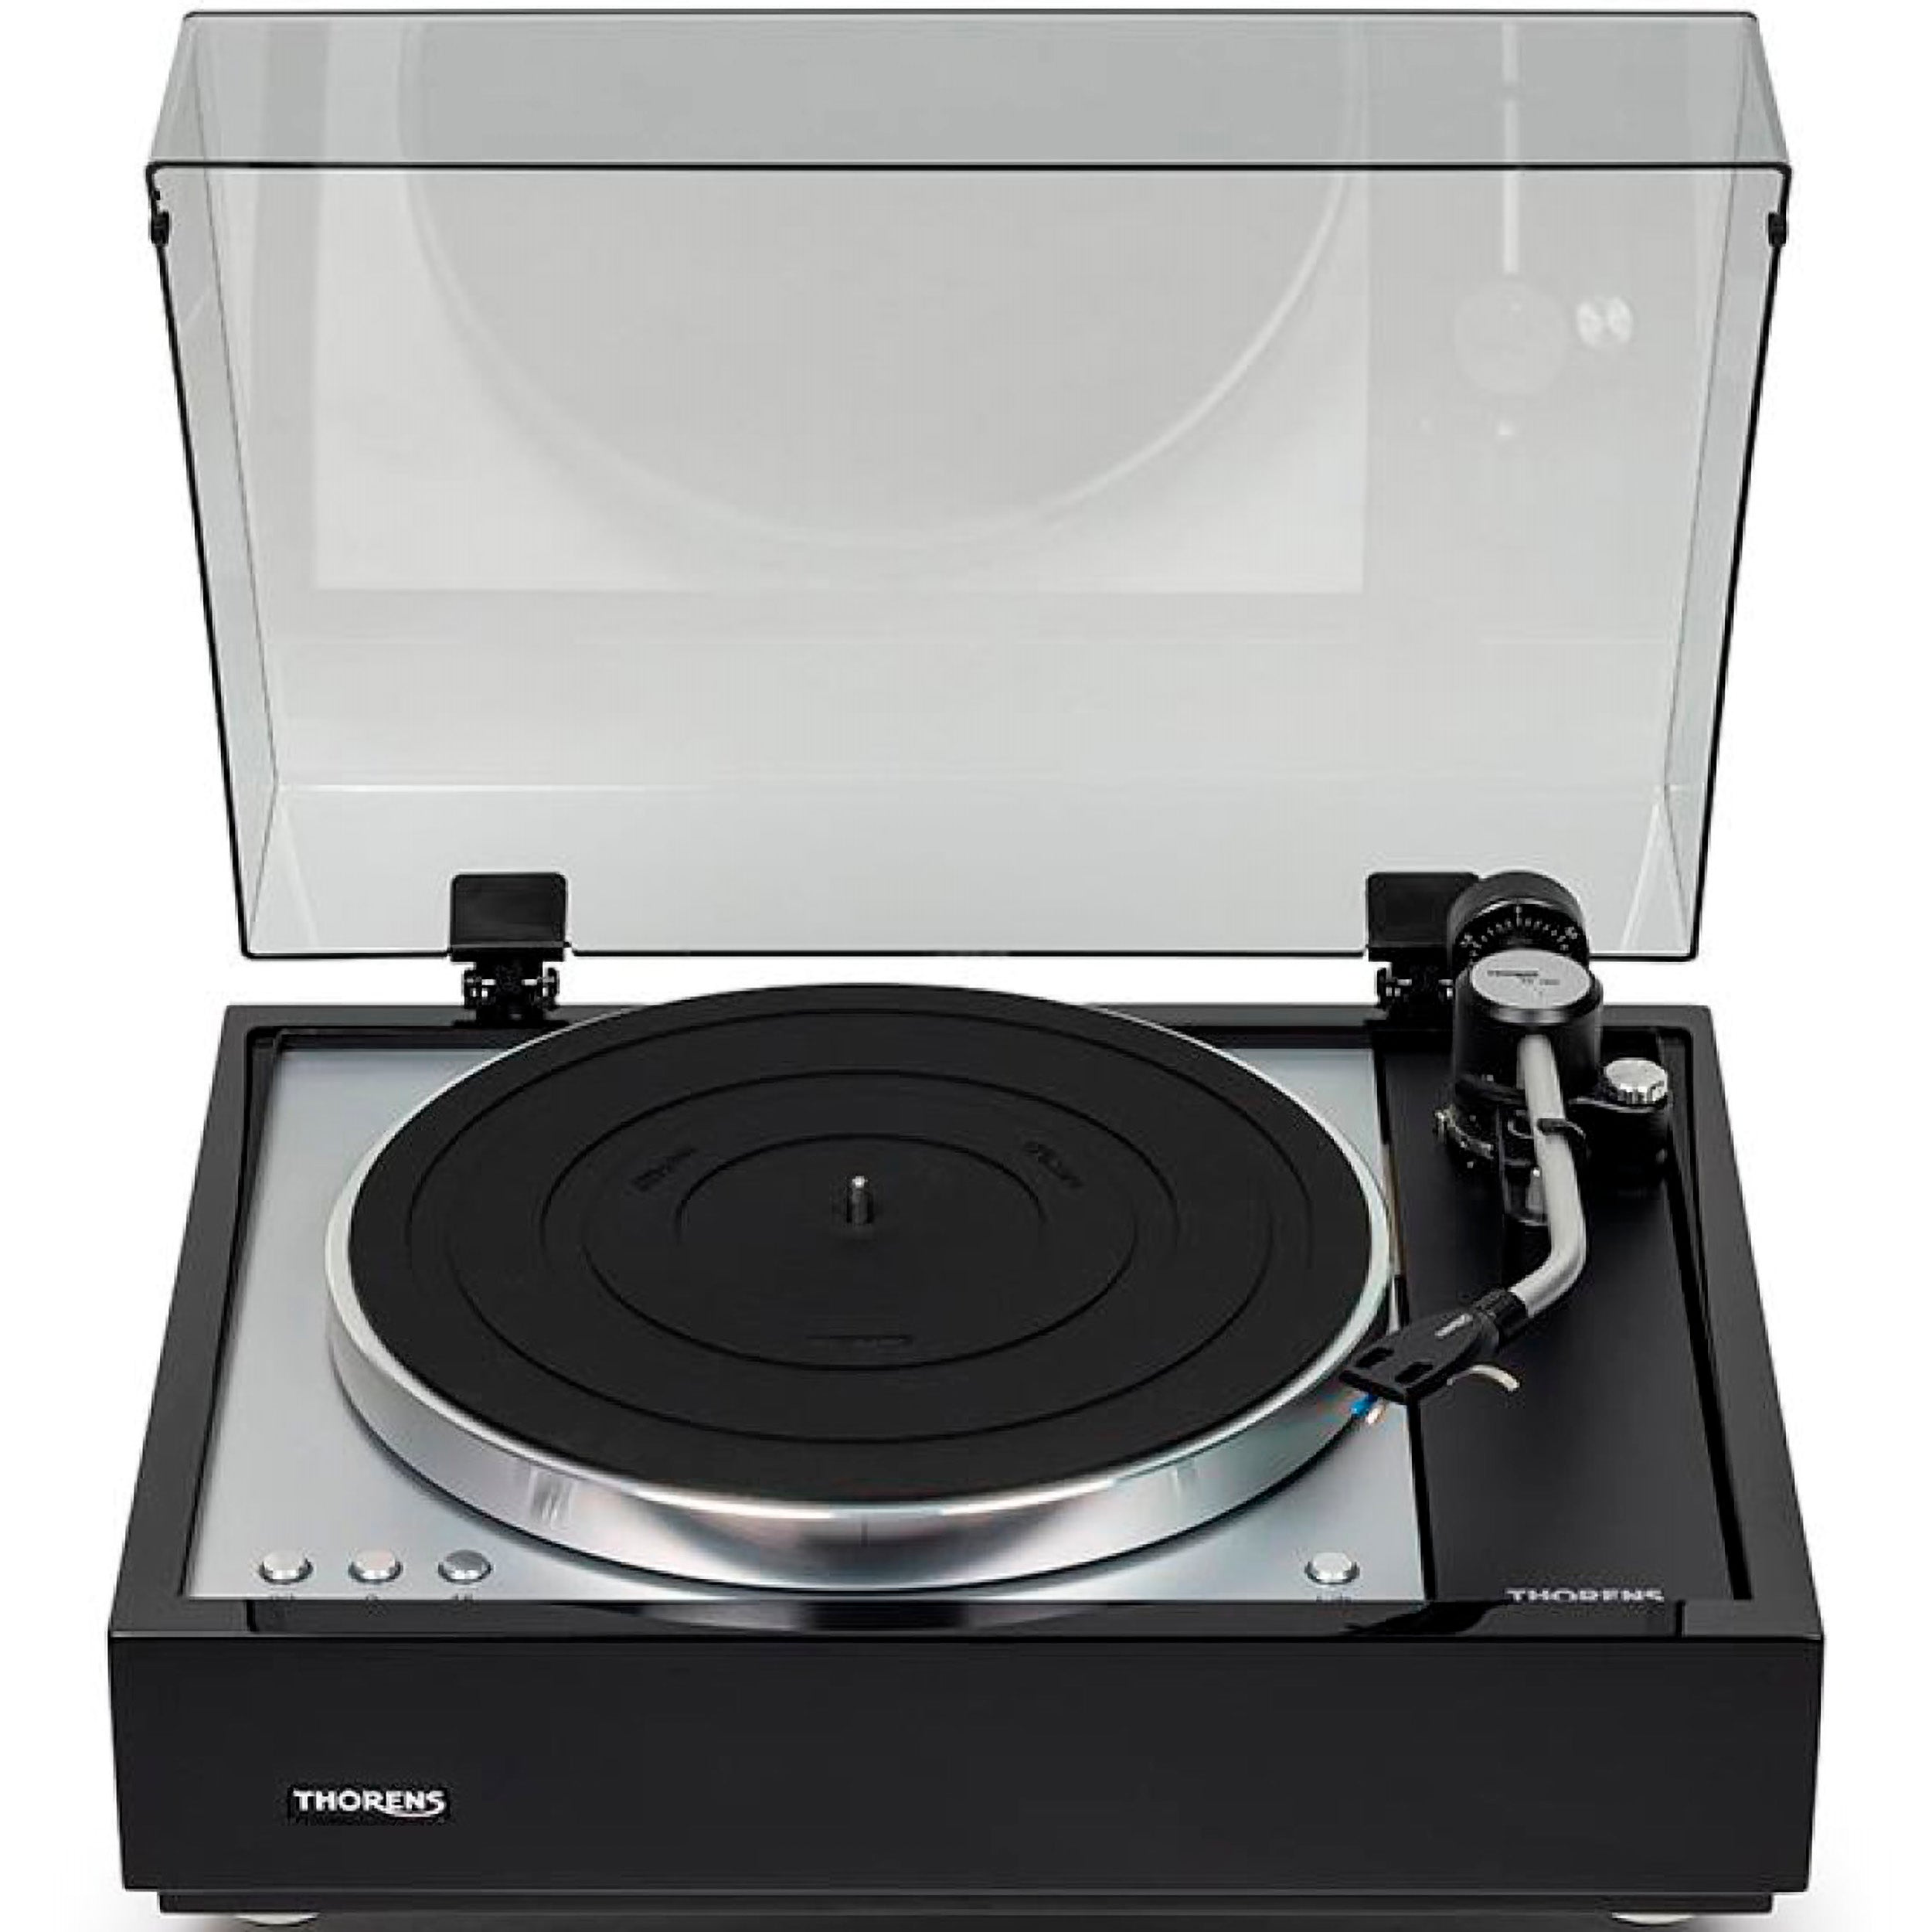
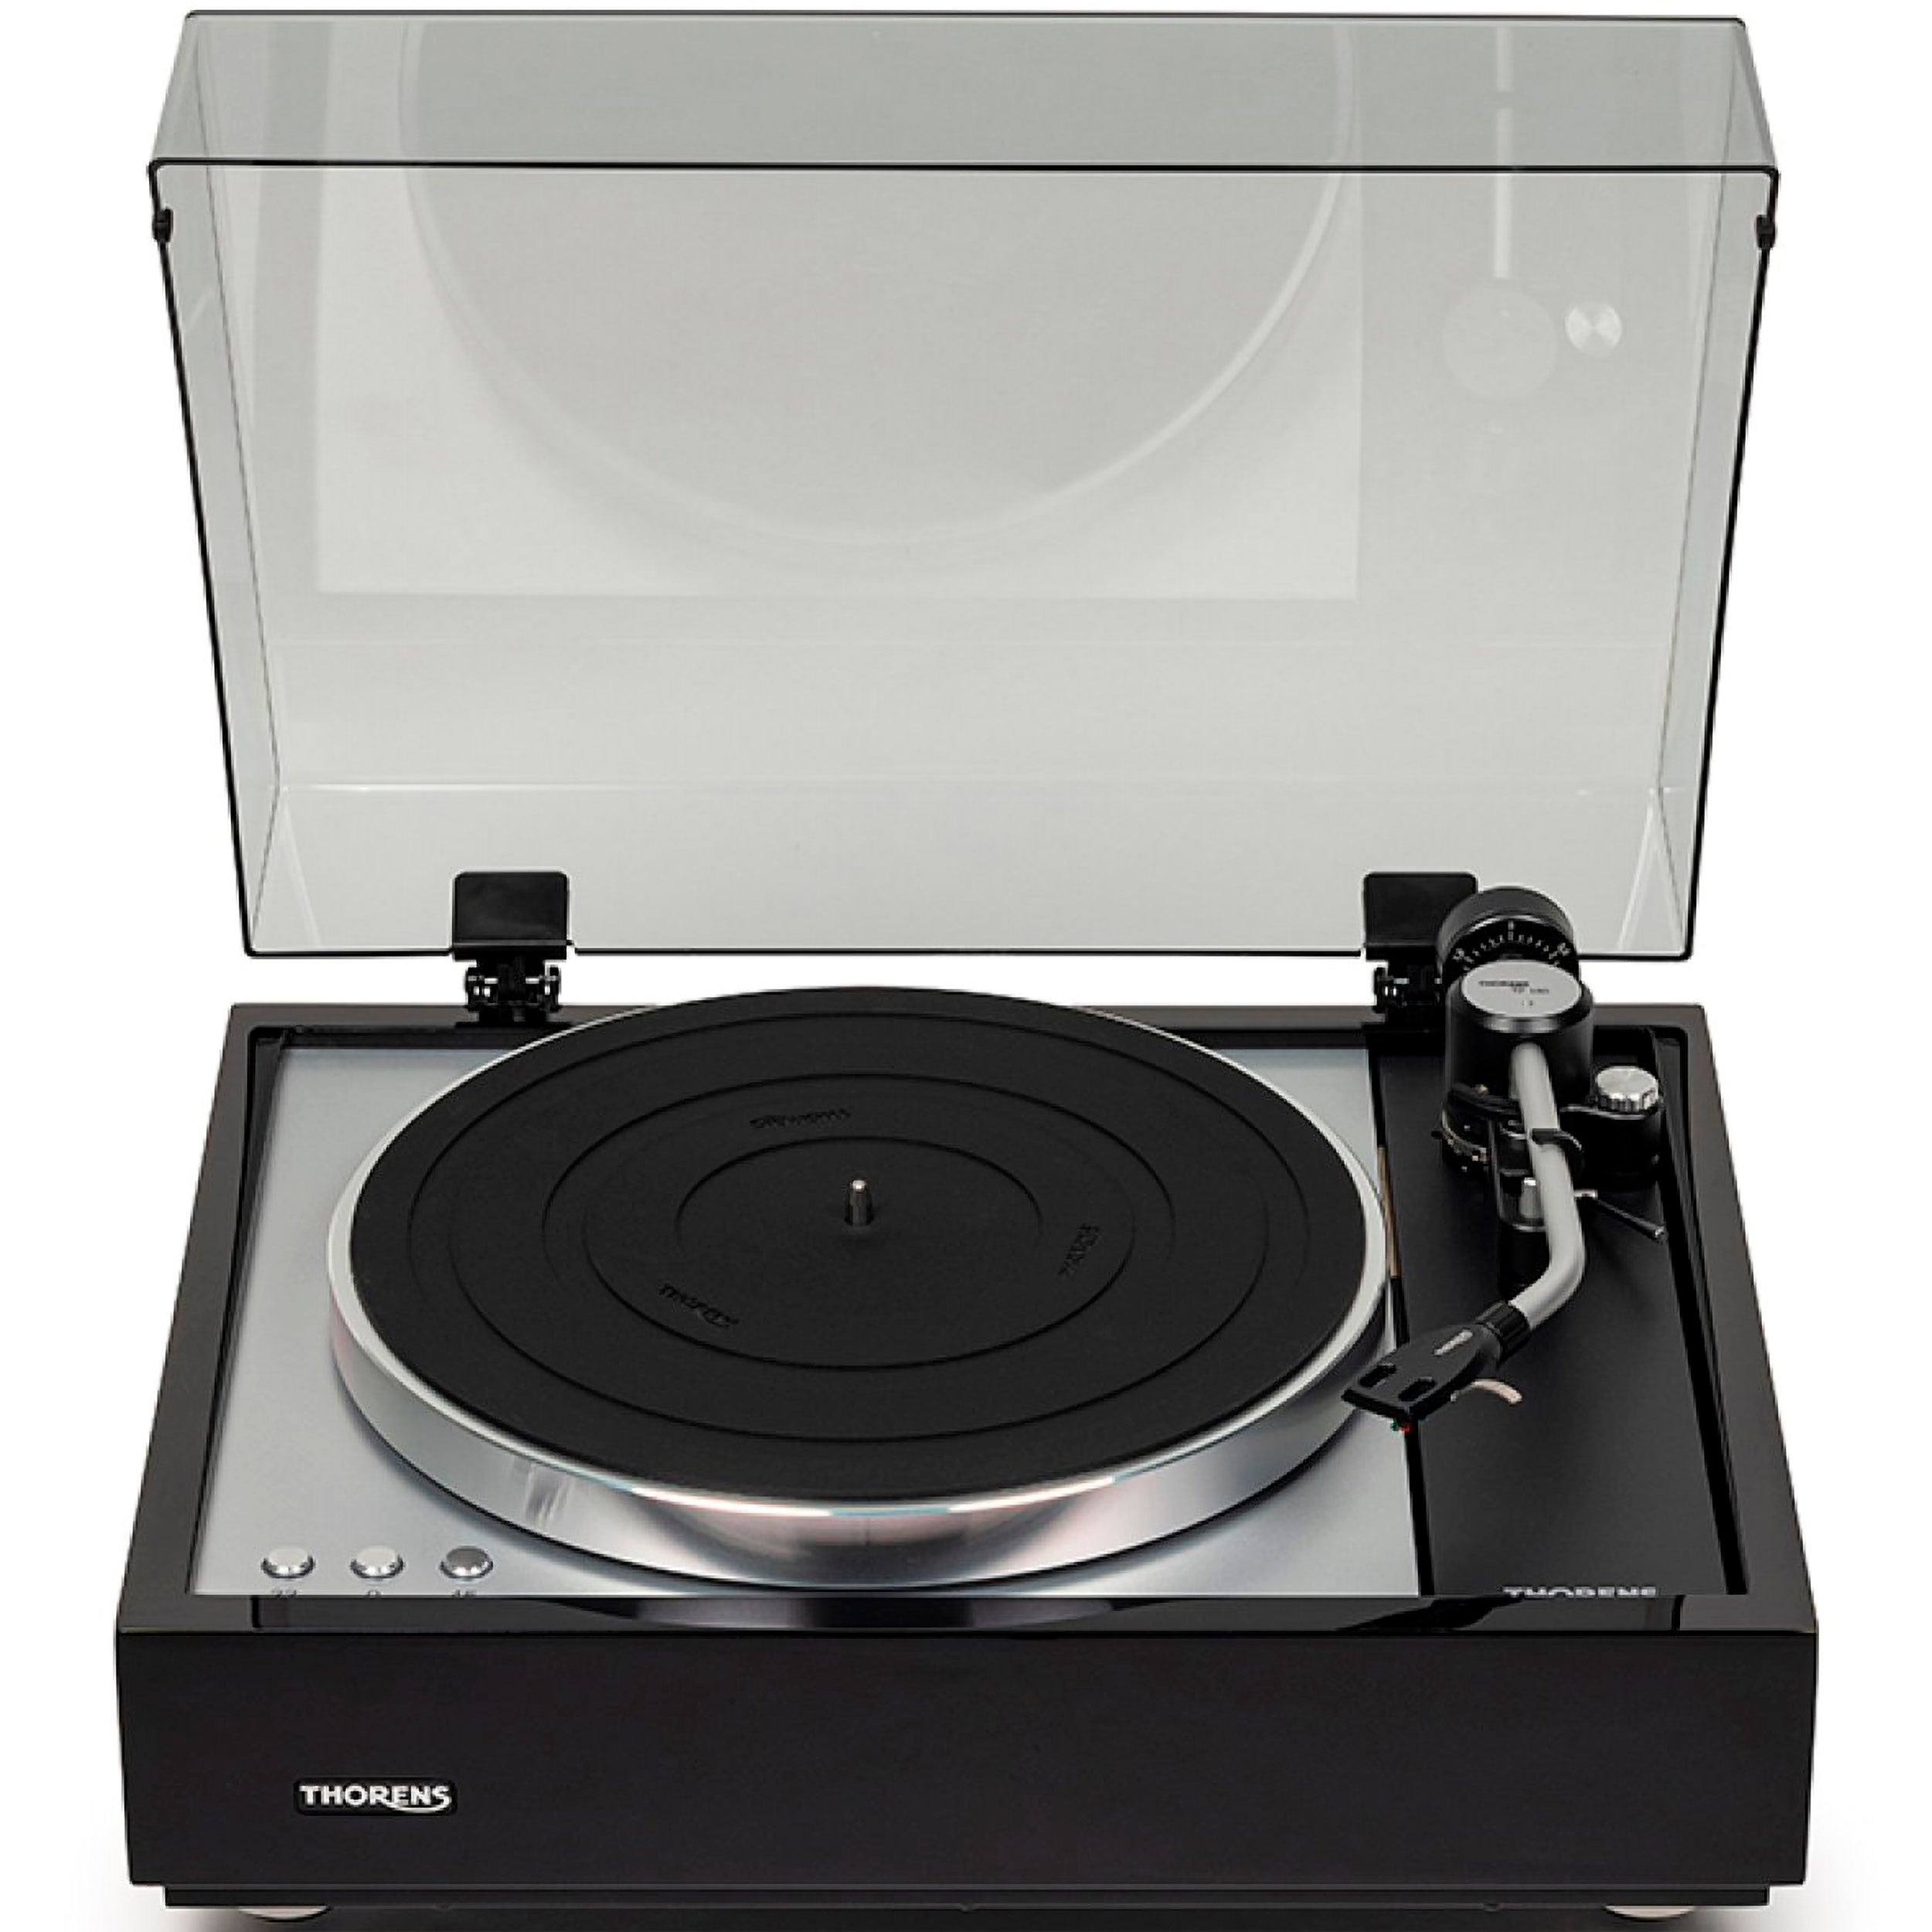
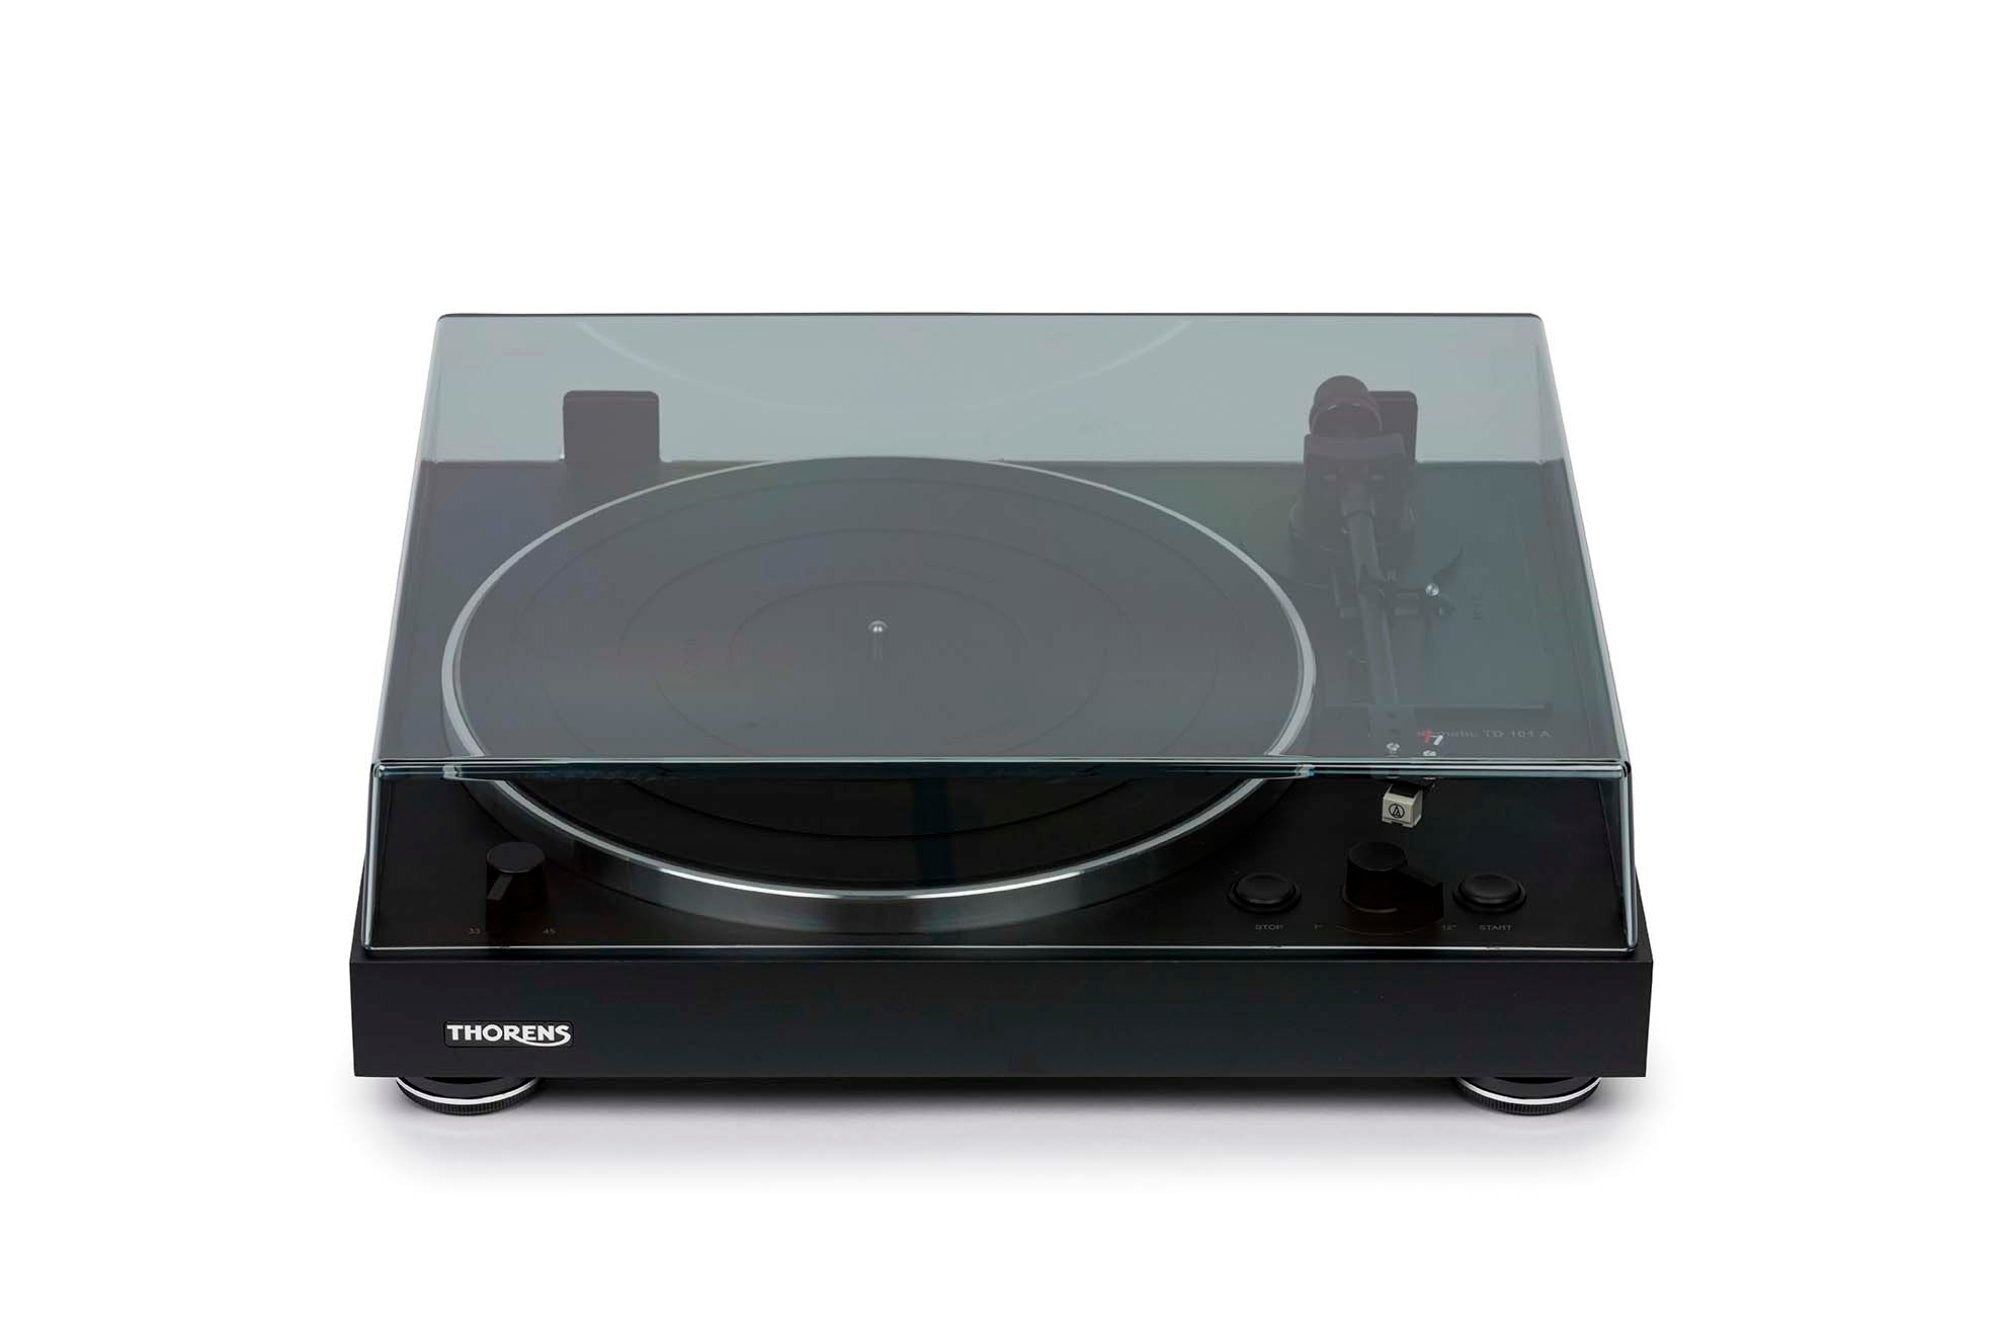
High-quality turntables

Accessories for the turntable
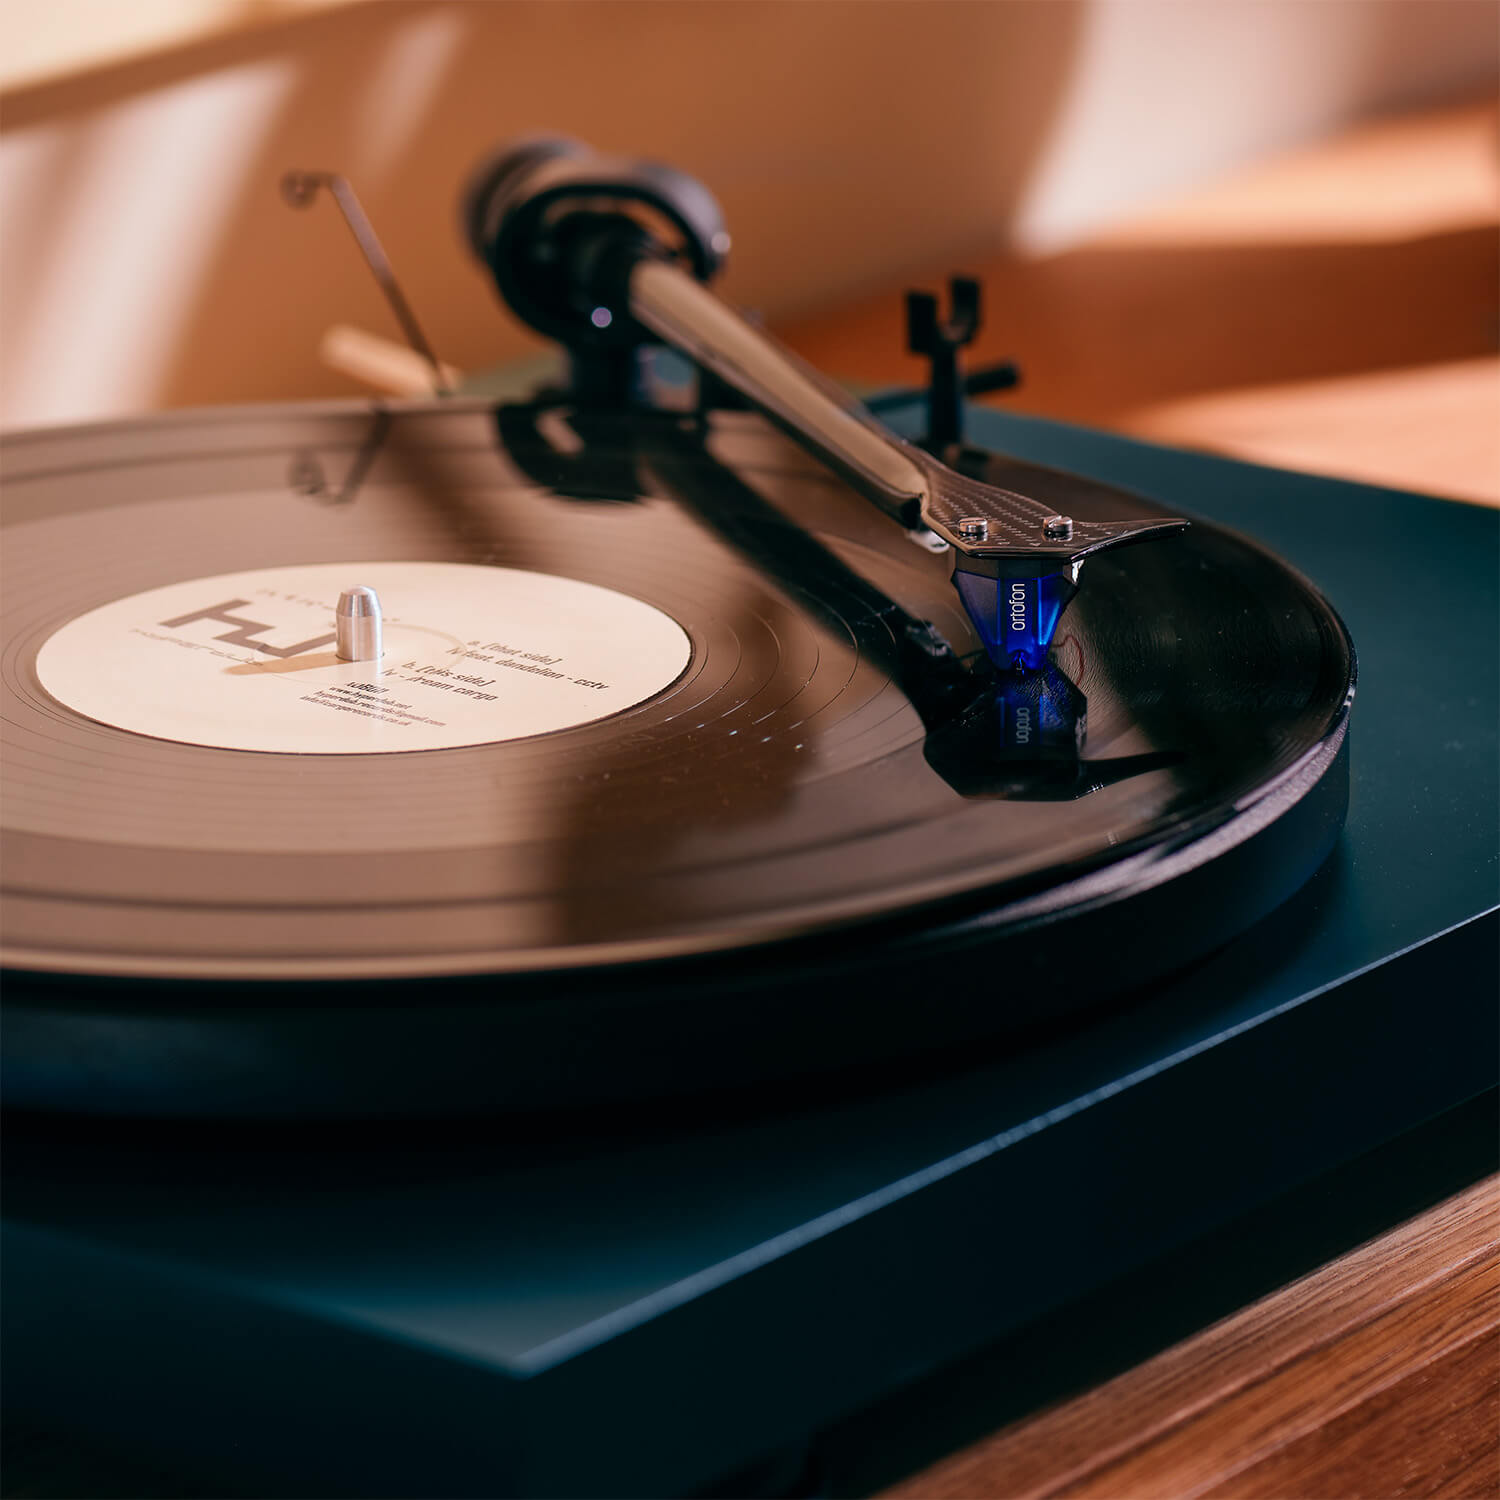
Pickups for every need
Treat your turntable to a cartridge that fits your exact needs. Of course, we’re happy to help you find the right one and with the installation.
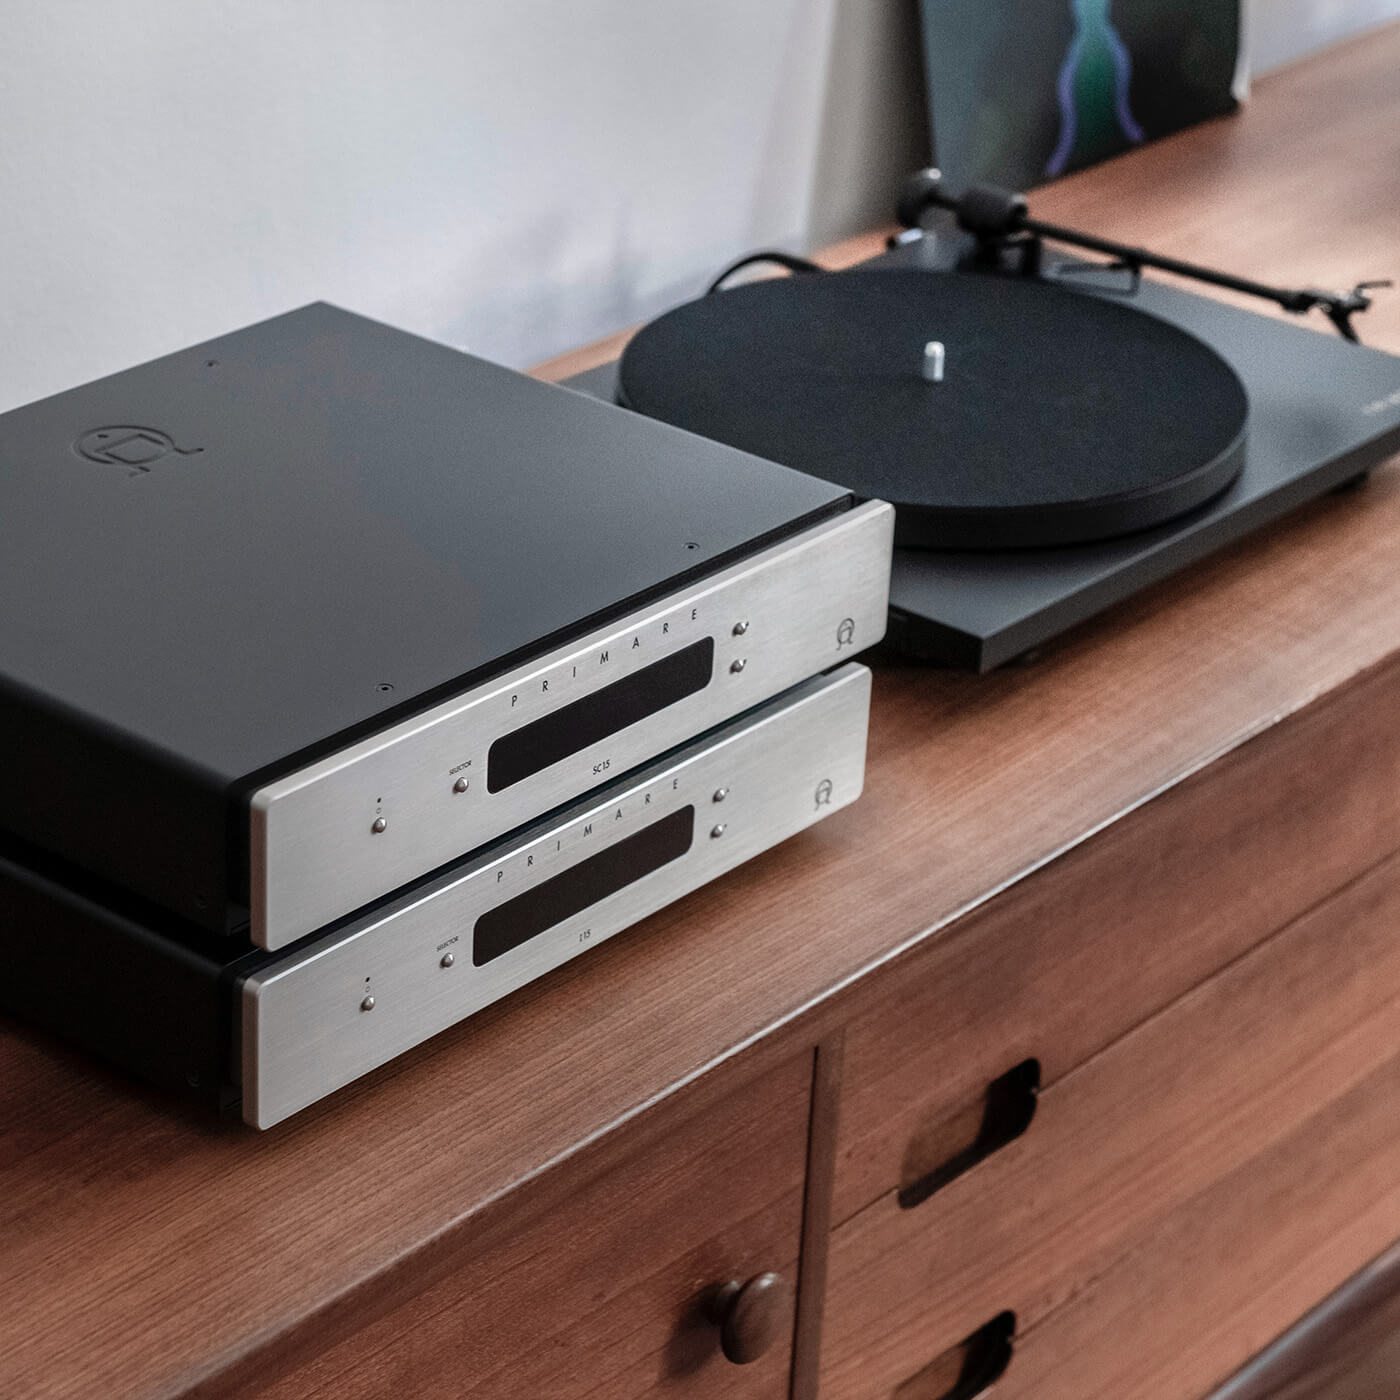
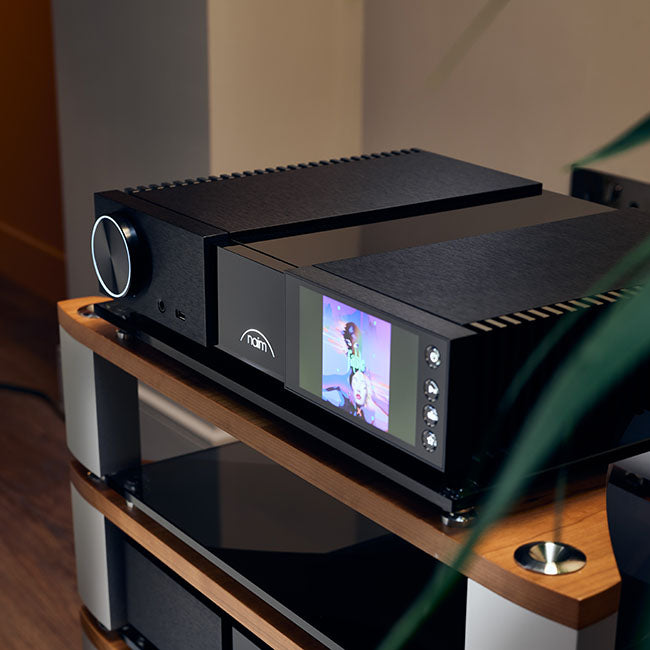
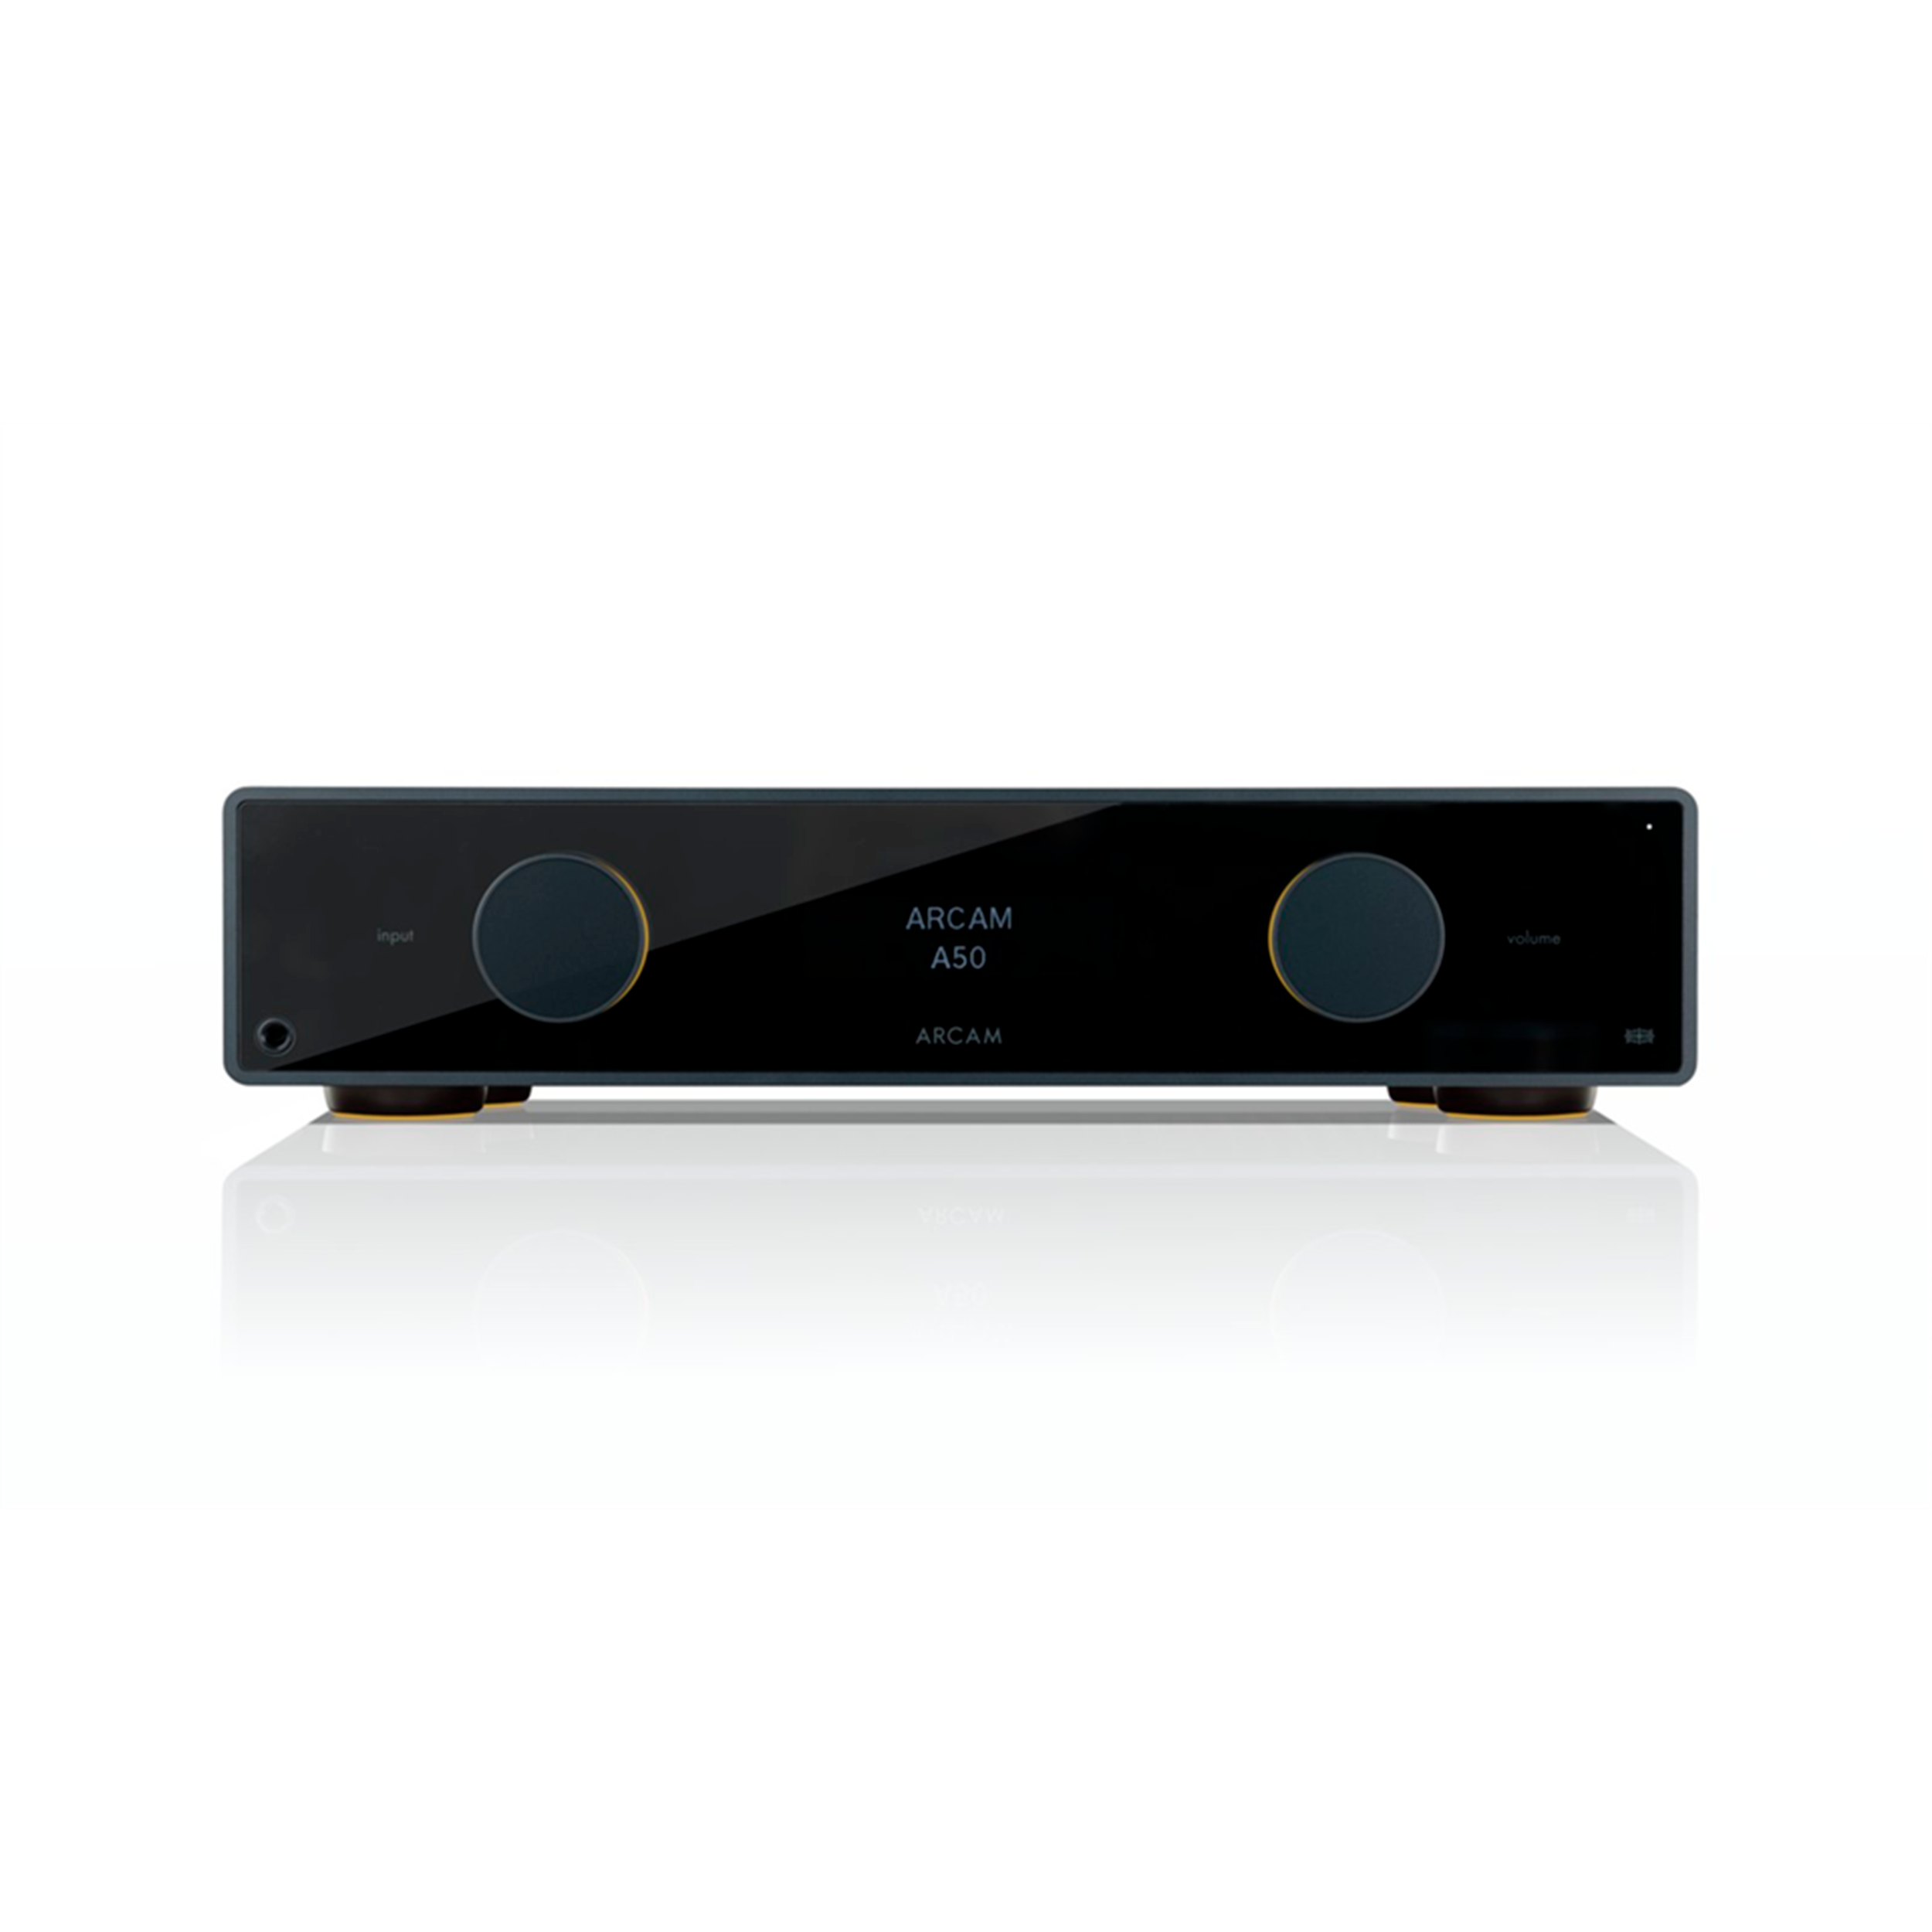
High-quality RIAA amplifiers
There is no sound coming out of the turntable without an RIAA amplifier. Because the cartridge's signal needs to be amplified so much, there is really a lot to gain from a proper RIAA.
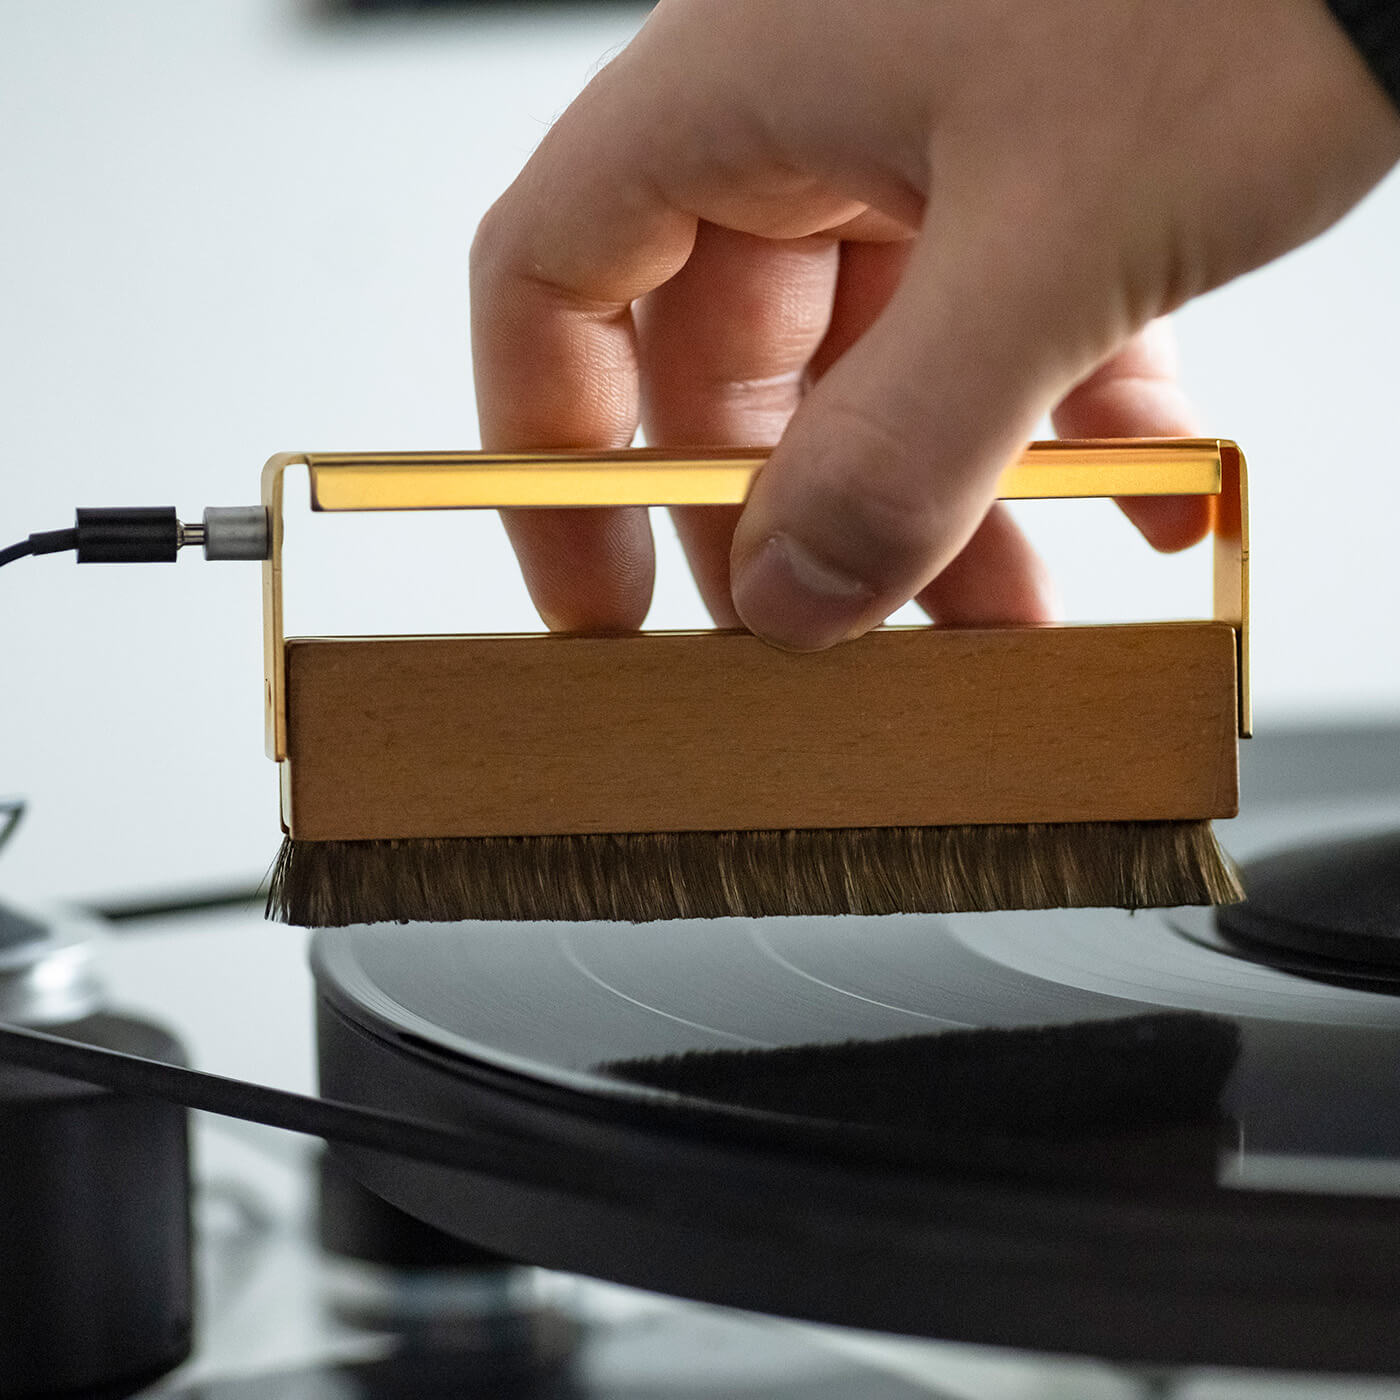
Maintain your turntable
It is absolutely essential for the turntable that it is maintained. Find the right one here and get better sound quality and longer life from your turntable.
Read more
How to set up and adjust your subwoofer
A subwoofer is a fantastic addition to your sound system, but how do you set it up correctly? Get it right with our 5 easy steps to better bass.
Read more
Expert advice for your home theater
With us, you get advice tailored to your home cinema dreams and ambitions. We help you with everything from acoustic design to speaker setup and amplifiers for projectors.
Read more